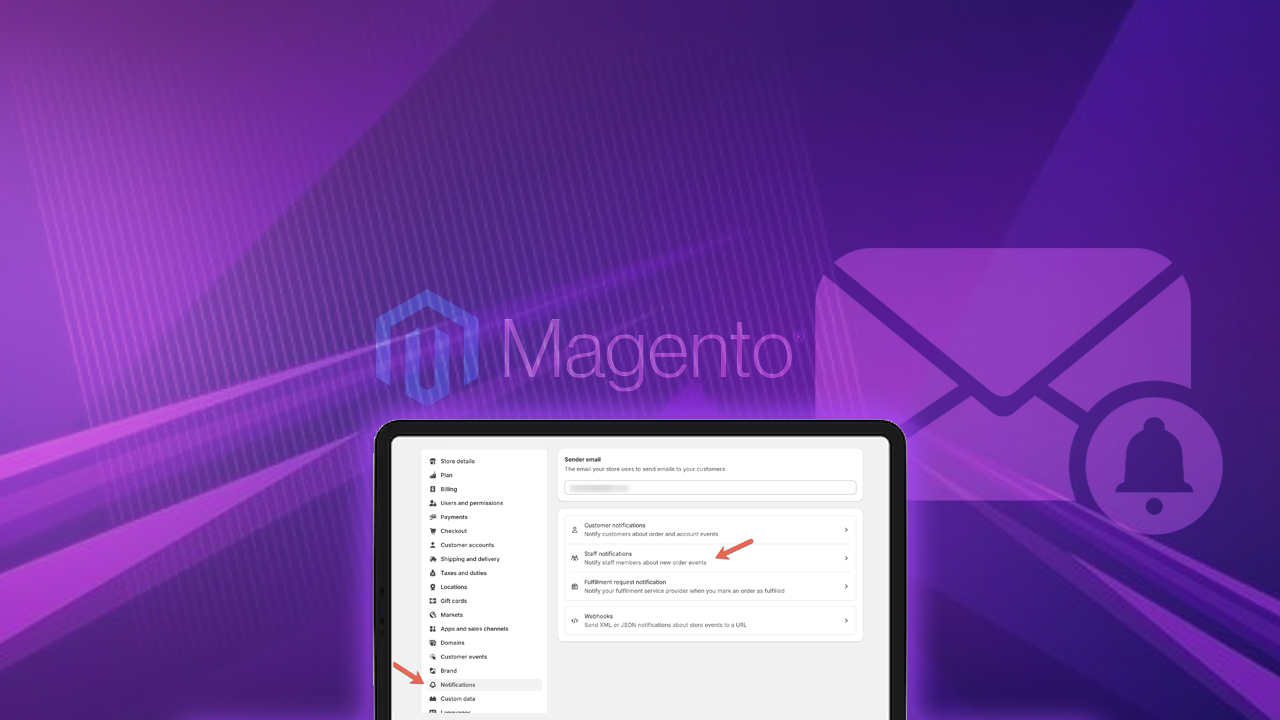
Customer Registration Email Template is an email that informs customers about their registration to the store. It contains important customer details such as email ID, username, etc.
Now, we need to set the email address in the admin panel. With the module installed, we can customize email addresses. An email will be sent to the admin account whenever a customer registers. To do this, navigate to:
| Store → Configuration → DCKAP → Customer Login → New Registration Email → Sender Email |
ON THIS PAGE
Sending Custom Emails
This method serves as a gate pass if you want to know who is visiting your store and registering as a customer. It only allows genuine users into your store and the admin can verify the customer’s details.
Steps to Create Email Template for Customer Registration in Magento 2
To create an email template for customer registration follow the below steps:
Step 1: Create a “registration.php”
app/code/Dckap/AccountApproval/registration.php
<?php
/**
* Copyright © 2016 MageWorx. All rights reserved.
* See LICENSE.txt for license details.
*/


\Magento\Framework\Component\ComponentRegistrar::register(
   \Magento\Framework\Component\ComponentRegistrar::MODULE,
   'Dckap_AccountApproval',
   __DIR__
);
Step 2: Create a “Module.xml” file
Here’s the file path that you should follow:
app/code/Dckap/AccountApproval/etc/module.xml
<?xml version="1.0"?>
<config xmlns:xsi="http://www.w3.org/2001/XMLSchema-instance" xsi:noNamespaceSchemaLocation="urn:magento:framework:Module/etc/module.xsd">
   <module name="Dckap_AccountApproval" setup_version="2.0.5">
   </module>
</config>
Step 3: Create one more file “system.xml”
Here’s the file path that should be followed:
app/code/Dckap/AccountApproval/etc/adminhtml/system.xml
<?xml version="1.0"?>
<config xmlns:xsi="http://www.w3.org/2001/XMLSchema-instance" xsi:noNamespaceSchemaLocation="urn:magento:module:Magento_Config:etc/system_file.xsd">
   <system>
       <tab id="dckapaccountapproval" translate="label" sortOrder="10">
           <label>DCKAP</label>
       </tab>
       <section id="customerlogin" translate="label" sortOrder="130" showInDefault="1" showInWebsite="1" showInStore="1">
           <class>separator-top</class>
           <label>Customer Login</label>
           <tab>dckapaccountapproval</tab>
           <resource>Dckap_AccountApproval::customerlogin_config</resource>
           <group id="general" translate="label" type="text" sortOrder="1" showInDefault="1" showInWebsite="1" showInStore="1">
               <label>General Configuration</label>
               <field id="enable" translate="label" type="select" sortOrder="1" showInDefault="1" showInWebsite="1" showInStore="1">
                   <label>Module Enable</label>
                   <source_model>Magento\Config\Model\Config\Source\Yesno</source_model>
               </field>
           </group>
           <group id="new_registration_email" translate="label" type="text" sortOrder="4" showInDefault="1" showInWebsite="1" showInStore="1">
               <label>New Registration Email</label>
               <field id="email" translate="label" type="text" sortOrder="2" showInDefault="1" showInWebsite="1" showInStore="1" canRestore="1">
                   <label>Sender Email</label>
                   <validate>validate-email</validate>
                   <backend_model>Magento\Config\Model\Config\Backend\Email\Address</backend_model>
               </field>
               <field id="name" translate="label" type="text" sortOrder="1" showInDefault="1" showInWebsite="1" showInStore="1" canRestore="1">
                   <label>Sender Name</label>
                   <backend_model>Magento\Config\Model\Config\Backend\Email\Sender</backend_model>
                   <validate>validate-emailSender</validate>
               </field>
           </group>
       </section>
   </system>
</config>
Step 4: Create the “email_templates.xml” file
Here’s the file path:
app/code/Dckap/AccountApproval/etc/email_templates.xml
<?xml version="1.0"?>
<config xmlns:xsi="http://www.w3.org/2001/XMLSchema-instance" xsi:noNamespaceSchemaLocation="urn:magento:module:Magento_Email:etc/email_templates.xsd">
   <template id="approval_email_template" label="DCKAP - Customer account approval" file="approval_email_template.html" type="html" module="Dckap_AccountApproval" area="frontend"/>
</config>
Step 5: Create the “approval_email_template.html” file
Here’s the file path that should be followed:
app/code/Dckap/AccountApproval/view/adminhtml/email/approval_email_template.html
<!--@subject Approval Required for Your Account @-->
<h1>Approval Required for Your Account</h1>
<p class = "Approval-hello">Hello {{var customer.name}},</p>
<p class = "Approval-des">As someone has registered in your email please check and confirm in your end </p>
<p class = "Approval-email">Email: {{var customer.email}}</p>
<p class = "Approval-name">Name: {{var customer.name}}</p>
Step 6: Finally, Create “CheckCustomer.php”
app/code/Dckap/AccountApproval/Observer/CheckCustomer.php
<?php


namespace Dckap\AccountApproval\Observer;


use Magento\Framework\Event\ObserverInterface;
use Magento\Framework\Registry;
use Magento\Framework\Mail\Template\TransportBuilder;
use Magento\Framework\App\Config\ScopeConfigInterface;
use Magento\Store\Model\ScopeInterface;
use Psr\Log\LoggerInterface;


/**
* Check customer account is new
*/
class CheckCustomer implements ObserverInterface
{
   /**
    * @var Registry
    */
   protected $coreRegistry;


   /**
    * @var TransportBuilder
    */
   protected $transportBuilder;


   /**
    * @var ScopeConfigInterface
    */
   protected $scopeConfig;


   /**
    * @var LoggerInterface
    */
   protected $logger;


   /**
    * @param Registry $registry
    *
    */
   public function __construct(
       Registry $registry,
       TransportBuilder $transportBuilder,
       ScopeConfigInterface $scopeConfig,
       LoggerInterface $logger


   )
   {
       $this->transportBuilder = $transportBuilder;
       $this->scopeConfig = $scopeConfig;
       $this->coreRegistry = $registry;
       $this->logger = $logger;
   }


   /**
    * Set is_new_account true
    * @param \Magento\Framework\Event\Observer $observer
    * @return void
    */
   public function execute(\Magento\Framework\Event\Observer $observer)
   {
       $this->coreRegistry->register('is_new_account', true);
       try {
           $customer = $observer->getData('customer');
           $SenderEmailEnable = $this->scopeConfig->getValue('customerlogin/general/enable', ScopeInterface::SCOPE_STORE);
           if($SenderEmailEnable){


               $customerEmail = $customer->getEmail();
               if (!empty($customerEmail)) {
                   $sender = [
                       'name' => $customer->getFirstName(),
                       'email' => $customer->getEmail(),
                   ];


                   $SenderEmail = $this->scopeConfig->getValue('customerlogin/new_registration_email/email', ScopeInterface::SCOPE_STORE);
                   $postObject = new \Magento\Framework\DataObject();
                   $postObject->setData($sender);


                   $this->transportBuilder->setTemplateIdentifier('approval_email_template');
                   $this->transportBuilder->setTemplateOptions(['area' => \Magento\Framework\App\Area::AREA_ADMINHTML,
                   'store' => \Magento\Store\Model\Store::DEFAULT_STORE_ID]);
                   $this->transportBuilder->setTemplateVars(['customer' => $postObject]);
                   $this->transportBuilder->setFrom($sender);
                   $this->transportBuilder->addTo([$SenderEmail]);
                   $this->transportBuilder->getTransport()->sendMessage();
                   $this->logger->info("Email is send to admin.");
               } else {
                   $this->logger->info("Customer email is empty.");
               }
           }


       } catch (\Exception $e) {
           $this->logger->error('Error while sending customer approval email ' . $e->getMessage());
       }


       return $this;
   }
}
After this, go to the admin panel and set your admin name and email address to receive an email whenever a customer registers on your site.
Output
Now you can receive email notifications about newly registered customers at your email address. An email is sent to the admin to verify and approve the registration and to notify that the customer is registered in your store.
Also Read: Magento Plugin Development
Conclusion
Creating a custom email and sending it to customers upon registration is an important aspect of enhancing user experience and maintaining communication channels. By implementing this feature, businesses can personalize their interactions with customers, providing them with essential information and acknowledgments.
Customers feel valued and informed, trusting brand loyalty. Moreover, custom emails offer an opportunity to showcase branding elements and deliver targeted messages, further solidifying the brand-customer relationship.
In conclusion, integrating custom email functionality into the registration process is a strategic move for businesses seeking to optimize customer engagement and retention strategies.
We’ve made it simple and clear for you to learn how to send confirmation emails to new customers upon registration in Magento 2. If you have any doubts or questions regarding this topic, please let us know in the comment section or contact us. Our experts are specialized in Magento 2 services.


