

Firebase Cloud Messaging (FCM) is a cloud-based messaging solution that enables app developers to send notifications and messages to mobile devices, web applications, and desktop applications. Firebase Push Notifications in Flutter is a feature of FCM that allows developers to send notifications to their users in real time.
Firebase Push Notifications are an essential tool for any app that needs to keep its users updated with the latest information or alerts. It can notify users about new updates, messages, orders, or anything else that requires attention.
ON THIS PAGE
Setting up Firebase Console
Before we begin, we need to set up the Firebase Console for our Flutter project. Follow the steps below to set up the Firebase Console:
- Go to the Firebase Console and sign in with your Google account.
- Click on the “Create Project” button.
- Enter a name for your project and select your country/region. Then click on the “Create Project” button.
- Click on the “Add app” button to add your Flutter app to the project once you’ve created it.
- Enter your app’s name and package name. Then click on the “Register App” button.
Platform-specific Setup and Requirements
Some of the required steps depend on the platform you’re targeting.
iOS+
Enable App Capabilities in Xcode
Before your application receives messages, you must enable push notifications and background modes in your Xcode project.
- Open your Xcode project workspace (ios/Runner.xcworkspace).
- Enable push notifications.
- Enable the Background fetch and the Remote notifications background execution modes.
Upload your APN Authentication Key
Before you use FCM, upload your APN certificate to Firebase. If you don’t have an APN certificate, create one in the Apple Developer Member Center.
- Inside your project in the Firebase console, select the gear icon, select Project Settings, and then select the Cloud Messaging tab.
- Select the Upload Certificate button for your development certificate, your production certificate, or both. At least one is required.
- For each certificate, you should select the .p12 file and provide the password, if any. Ensure the bundle ID for this certificate matches the bundle ID of your app. Select Save.
Method Swizzling
You must refrain from disabling method swizzling to use the FCM Flutter plugin on Apple devices. Key Firebase features such as FCM token handling don’t function properly without swizzling, making it necessary.
Android
Google Play services
FCM clients require devices running Android 4.4 or higher with Google Play services installed or an emulator running Android 4.4 with Google APIs. Note that deploying your Android apps through the Google Play Store is not the only option available.
Apps that rely on the Play Services SDK should always check the device for a compatible Google Play services APK before accessing Google Play services features. The recommended practice is to perform this action in two places: within the onCreate() method of the main activity and within its onResume() method.
The check in onCreate() ensures that the app cannot be used without a successful check. The check in onResume() ensures that if the user returns to the running app through some other means, such as via the back button, the check is still performed.
If the device doesn’t have a compatible version of Google Play services, your app can call GoogleApiAvailability.makeGooglePlayServicesAvailable() to allow users to download Google Play services from the Play Store.
Adding Firebase to Flutter Project
Now that we have set up the Firebase Console, we need to add Firebase to our Flutter project. Follow the steps below to add Firebase to your Flutter project:
Open your Flutter project in Android Studio or Visual Studio Code.
Open the pubspec.yaml file and add the following dependencies:
dependencies:
      firebase_core: ^latest_version
   firebase_messaging: ^latest_version
Run the command flutter pub get in the terminal to download and install the dependencies.
Implementing Firebase Messaging in Flutter
Now that we have added Firebase to our Flutter project, we can start implementing Firebase Messaging in Flutter. Follow the steps below to implement Firebase Messaging in your Flutter project:
Open the main.dart file and add the following code to initialize Firebase:
import 'package:firebase_core/firebase_core.dart';

void main() async {
 WidgetsFlutterBinding.ensureInitialized();
 await Firebase.initializeApp();
 runApp(MyApp());
}
Create a new file called messaging_service.dart. This file will contain the code to handle incoming messages.
import 'package:firebase_messaging/firebase_messaging.dart';

class MessagingService {
 final FirebaseMessaging _fcm = FirebaseMessaging.instance;

 Future<void> init() async {
   _fcm.requestPermission();

   FirebaseMessaging.onMessage.listen((RemoteMessage message) {
     print("onMessage: $message");
   });

   FirebaseMessaging.onMessageOpenedApp.listen((RemoteMessage message) {
     print("onMessageOpenedApp: $message");
   });
 }
}
In the init() method, we request permission to receive notifications from the user. Then, we listen to incoming messages using the onMessage and onMessageOpenedApp callbacks. The onMessage callback is called when the app is in the foreground, and the onMessageOpenedApp callback is called when the user taps on a notification.
Initialize the MessagingService in the initState() method of the main widget. Here’s how :
class MyApp extends StatefulWidget {
 @override
 _MyAppState createState() => _MyAppState();
}

class _MyAppState extends State<MyApp> {
 final messagingService = MessagingService();

 @override
 void initState() {
   super.initState();
   messagingService.init();
 }

 @override
 Widget build(BuildContext context) {
   // ...
 }Ï
}
Sending Push notifications in Flutter with Firebase Cloud Messaging
First head to the Cloud Messaging section in the Firebase Menu bar and enable it.
You can send your first message and see it in your app.
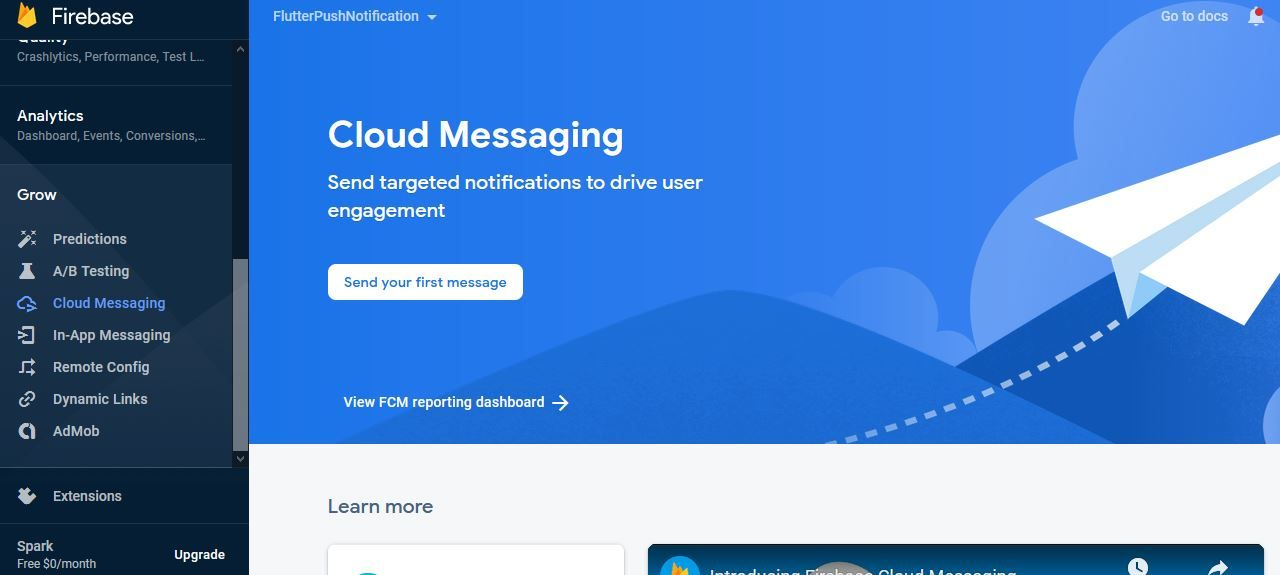
You can send notifications from the Firebase Cloud Messaging console directly. Go to the Cloud Messaging section from the left menu of the project overview page and click Send your first message.
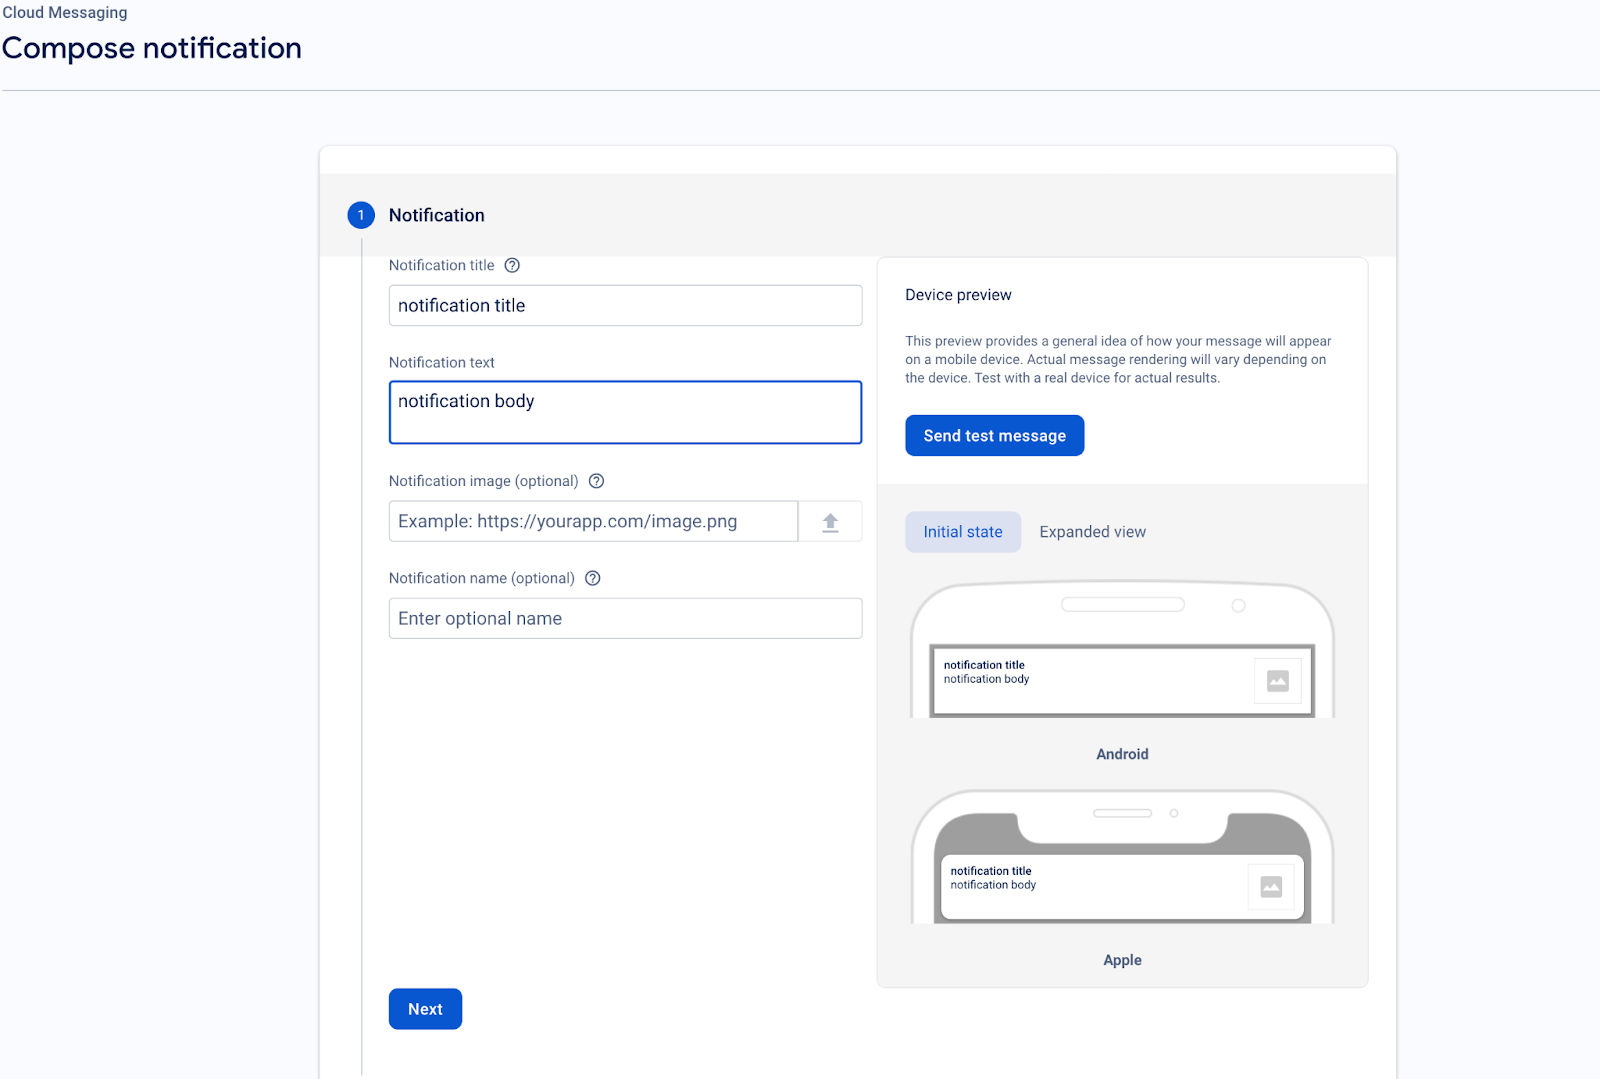
Here, we can input the title, text, and image, and specify the notification name. The title we set here will be used as the title in the message object for the callbacks we configured earlier in the Flutter project.
After setting the required fields, we can click on ‘Next’ which will lead us to the following window:
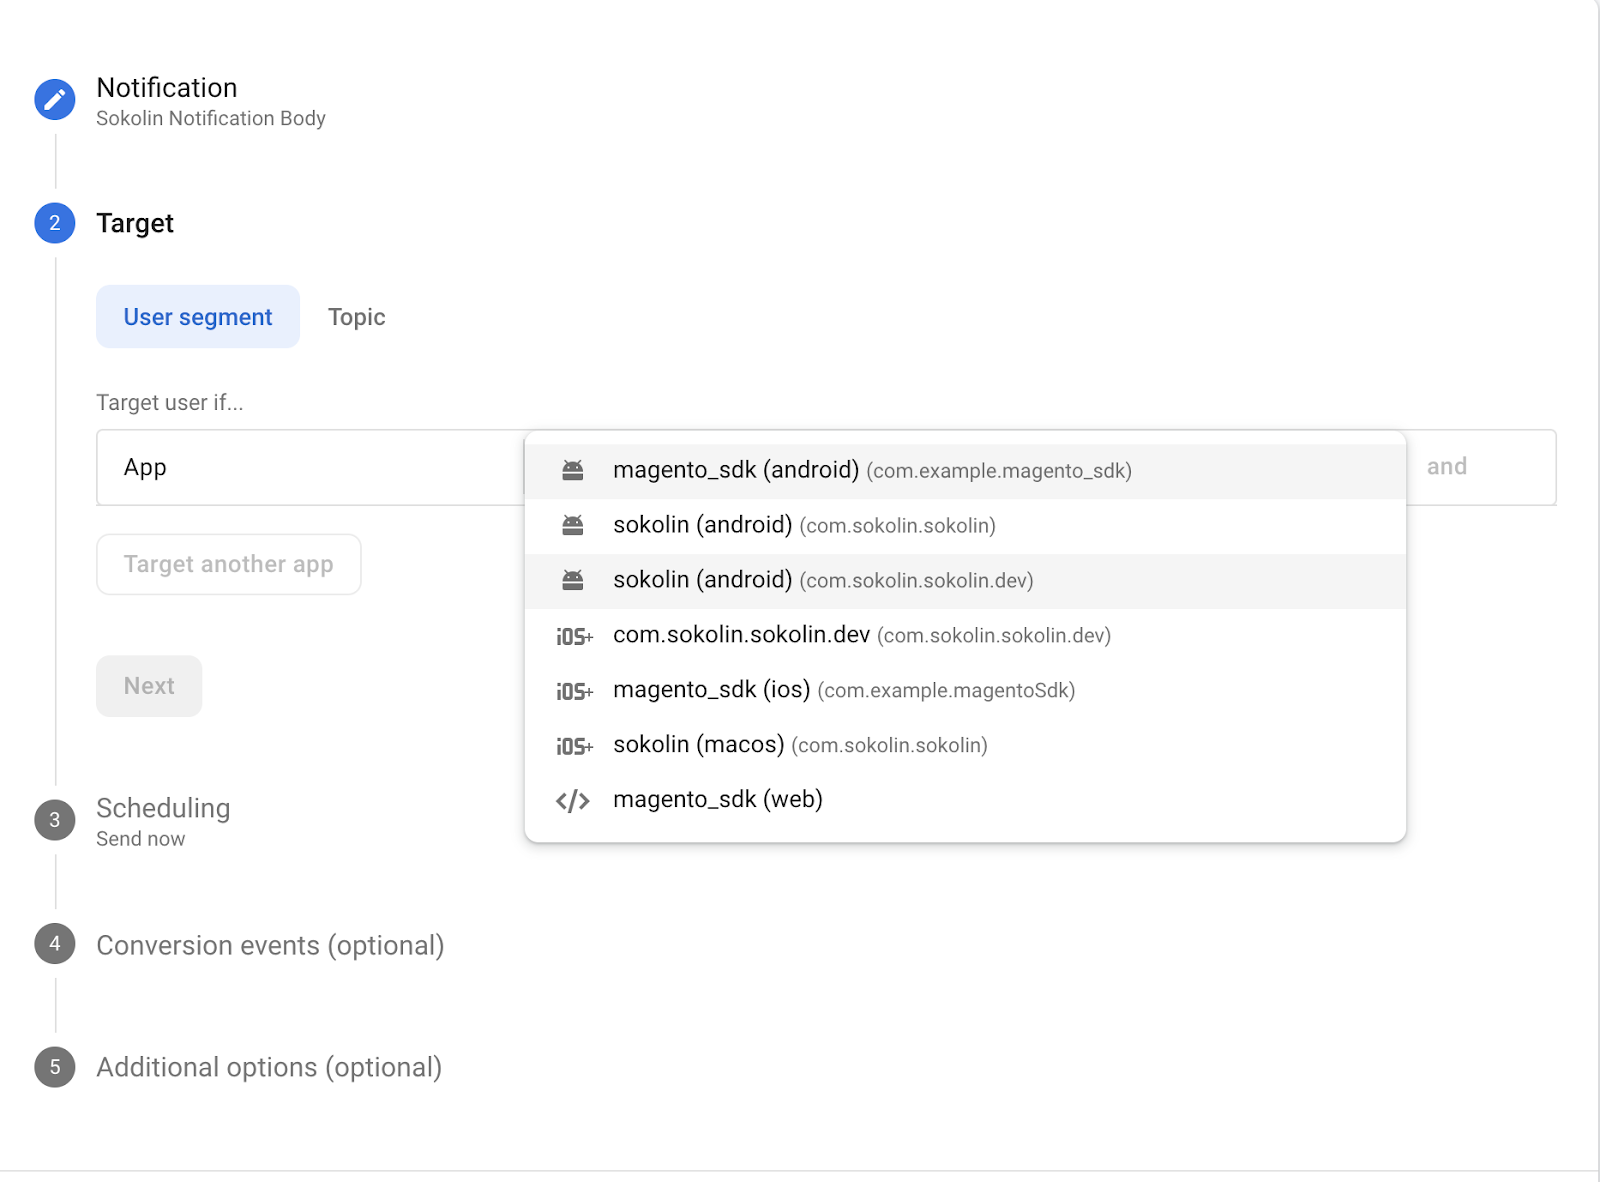
Here, we provide our target app and click on ‘Next’. If we need to send a notification to Android, select Sokolin (android) (com.sokolin.sokolin.dev), and for iOS, select iOS+ (com.sokolin.sokolin.dev). We can add both Android and iOS as our target apps.
For Scheduling we can keep the default option:
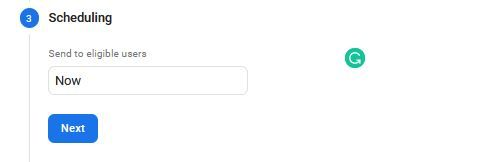
Next, the Conversion window will appear which we can keep as default as well, and then click on the ‘Next’ button.
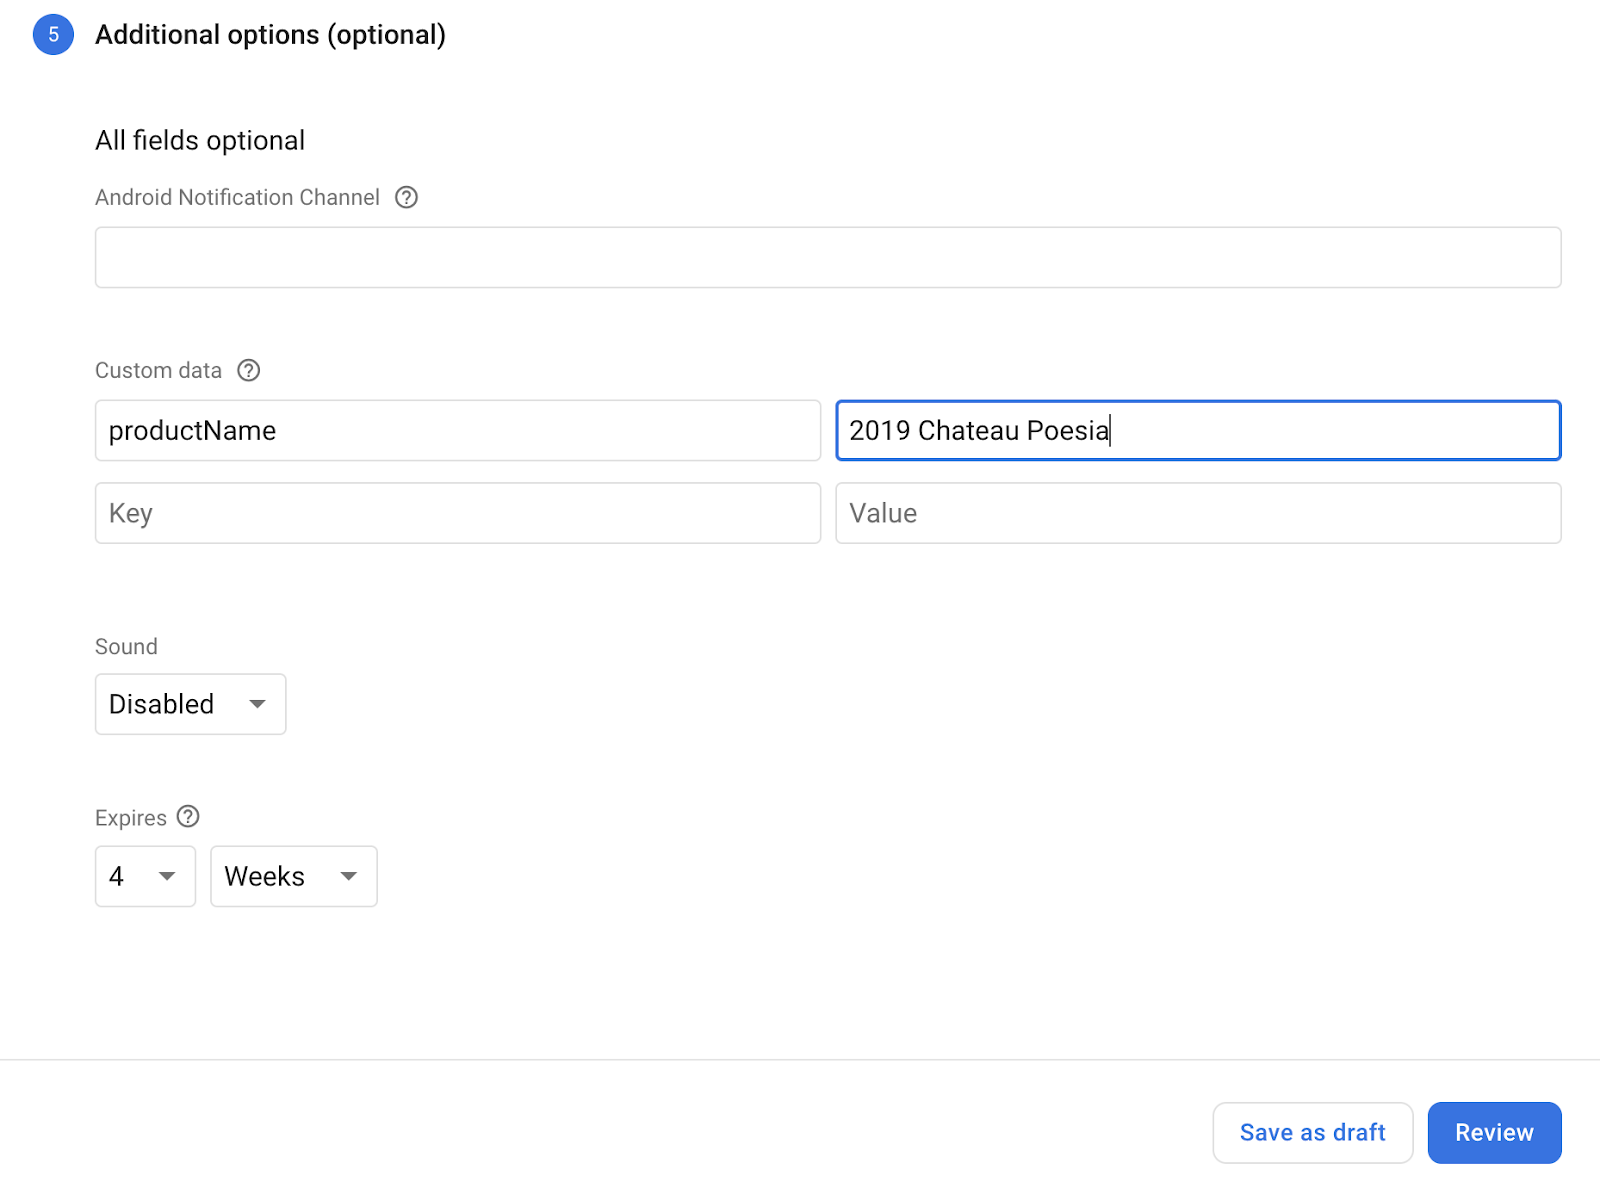
Lastly, a window where we need to enter the custom data will appear in which we can set the key. This key action event is triggered when we click on the notification that appears in the device’s notification bar.
After clicking on the notification message from the notification bar, the app will open and the onResume callback will trigger, setting productName as assigned in the custom data in the screenshot below:
If we need to redirect to the wishlist page through the notification in the app, we need to set the key name to wishlist and set any value:

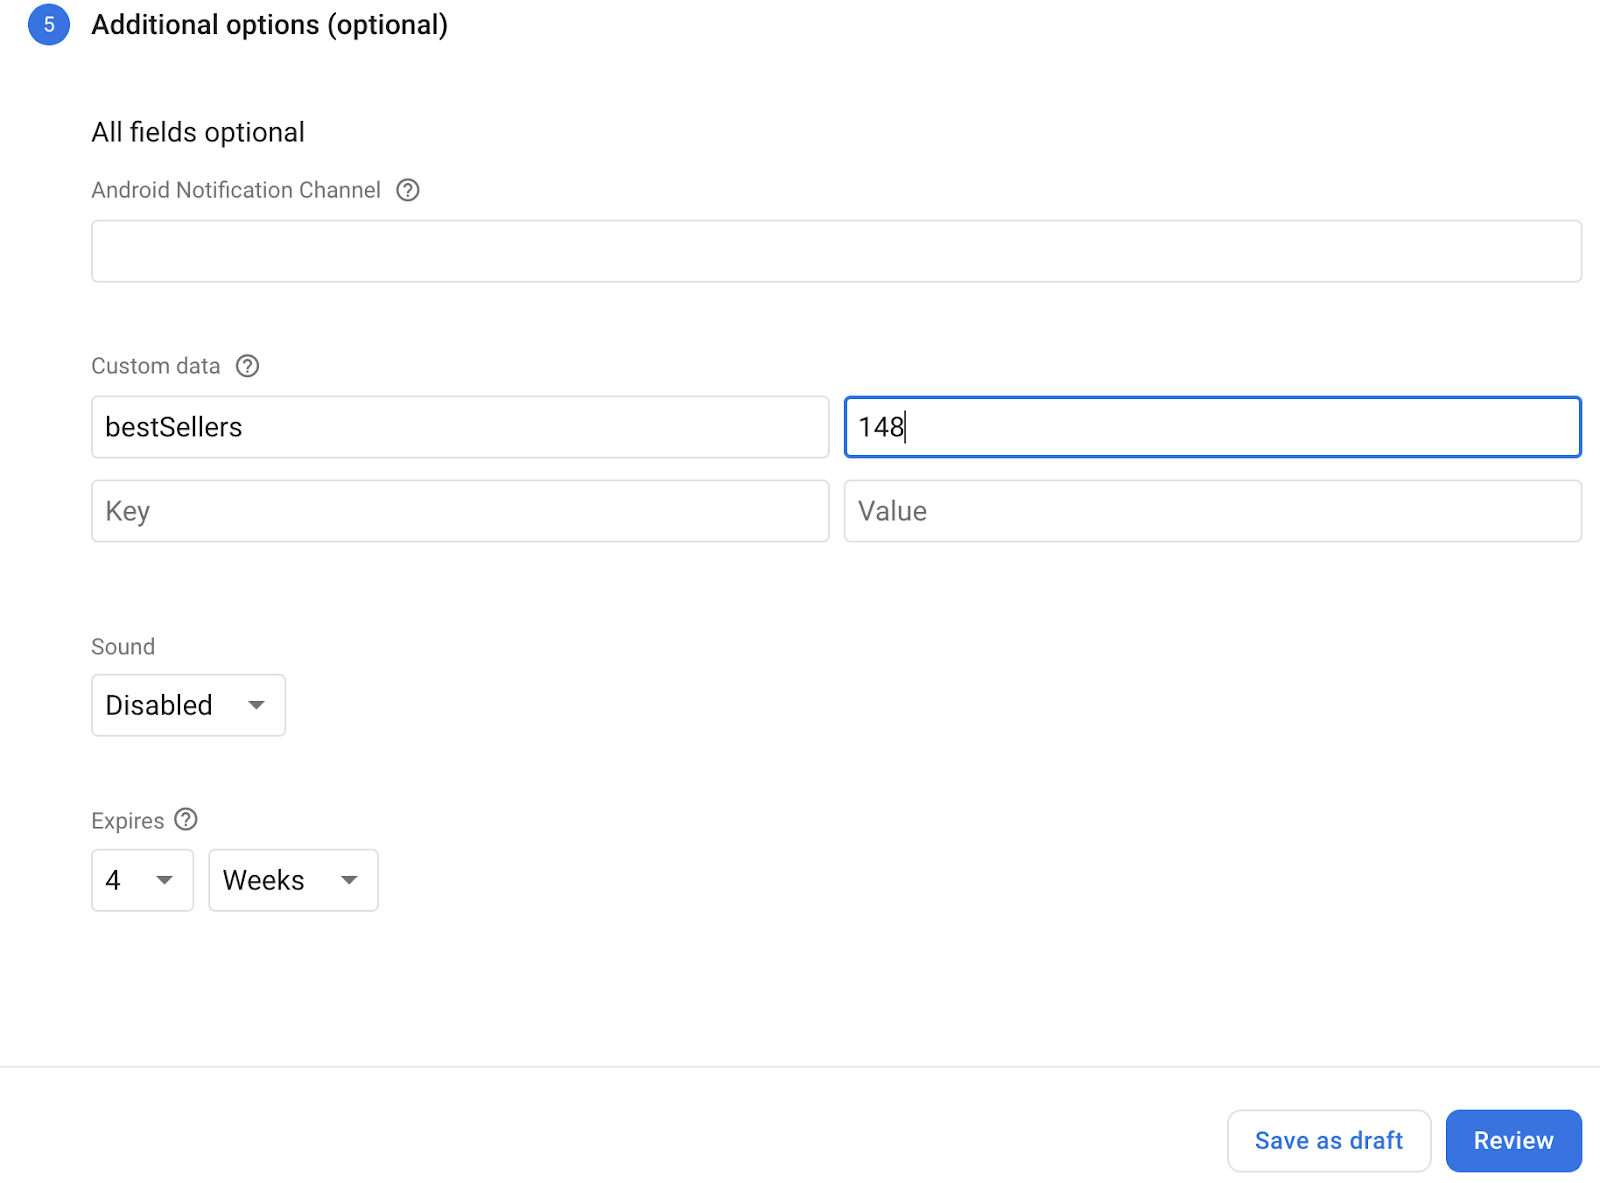
If we need to redirect to the Best Sellers page through the notification in the app, we need to set the key name to bestSellers and set any value in the value field:
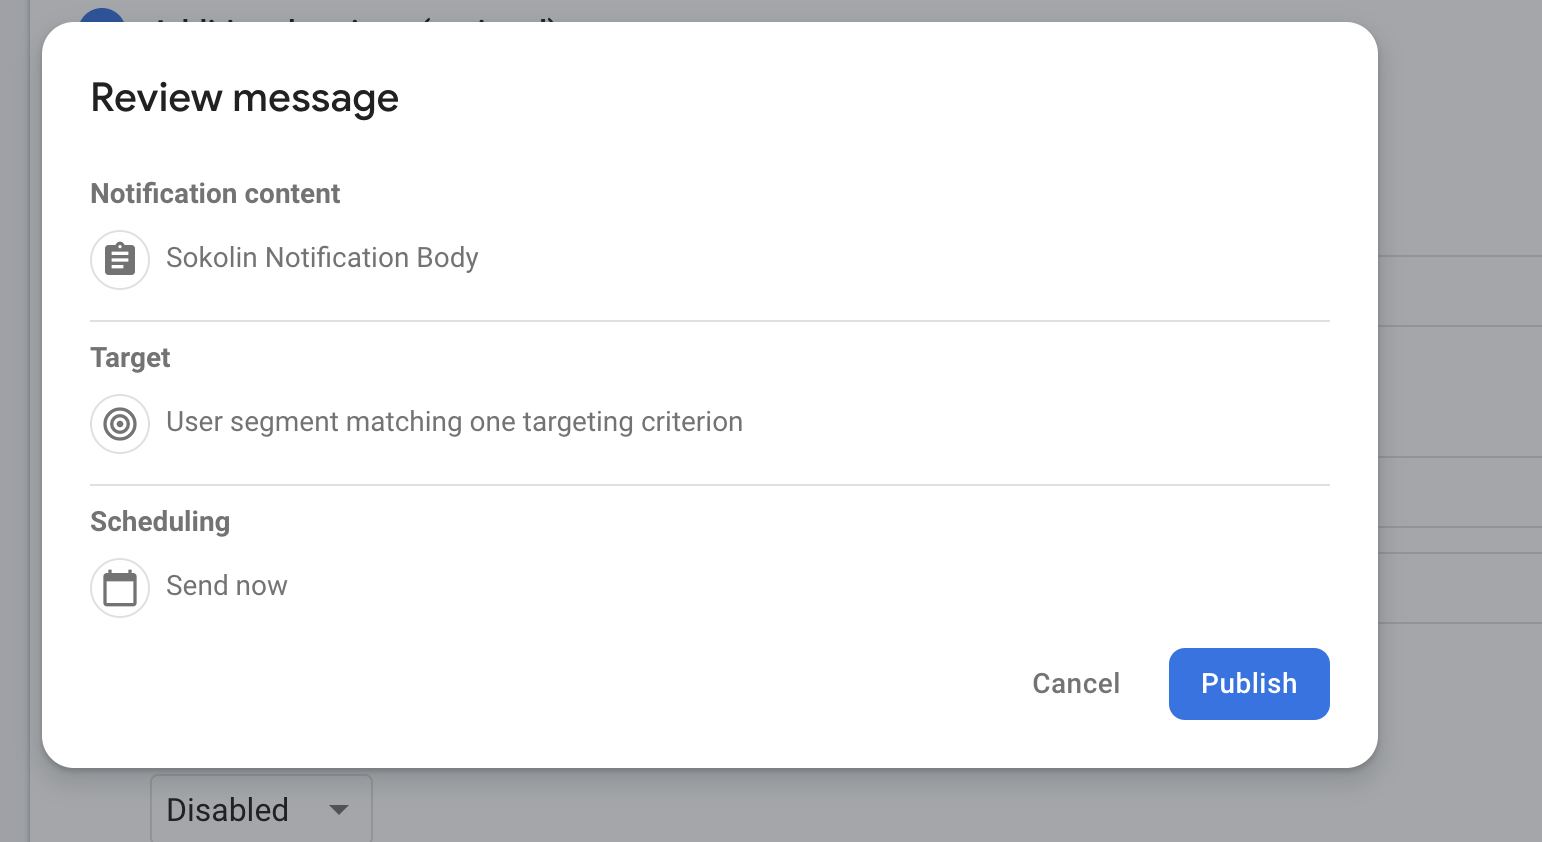
Now, we are ready to send the first notification message to the device. Click Review:
Click Publish to send the notification.
Conclusion
Implementing push notifications in a Flutter app using Firebase Cloud Messaging (FCM) provides a powerful and efficient way to engage users and keep them informed. Firebase offers a robust platform for managing and sending notifications, while Flutter simplifies the integration process with its rich plugins. For Expert Ecommerce development services contact us !