
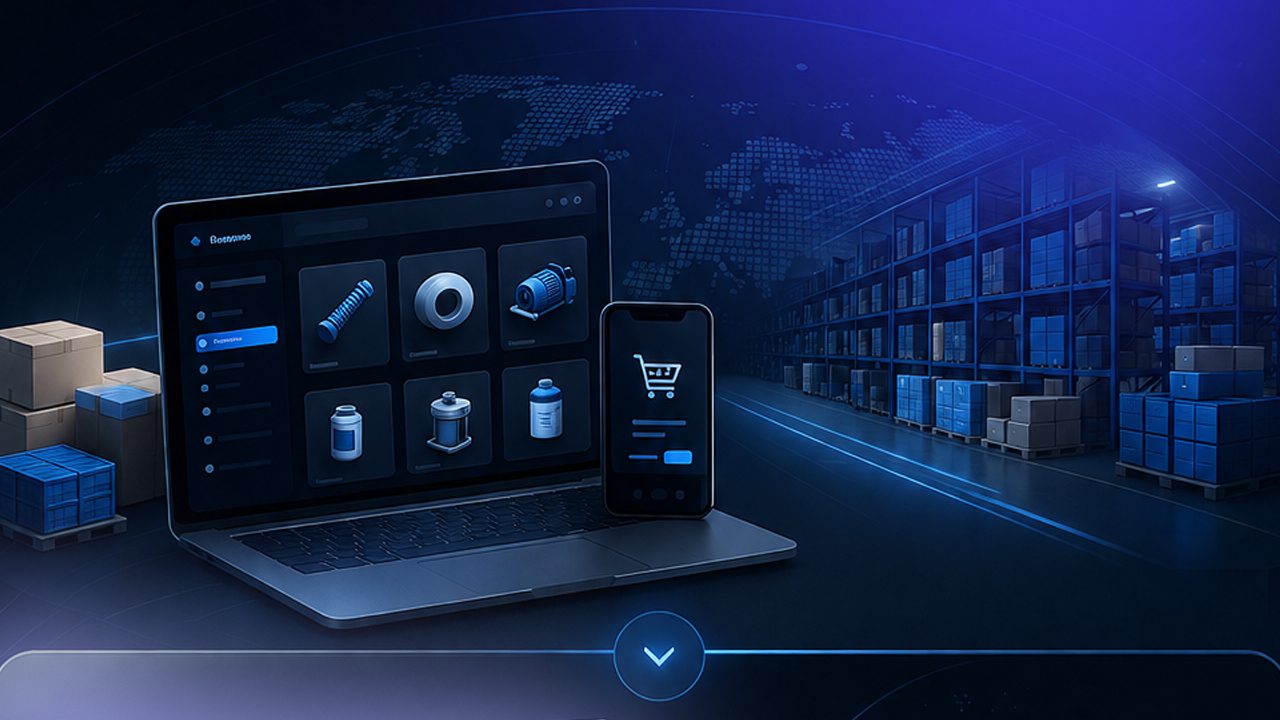
Building a High-Converting B2B eCommerce Platform for Distributors
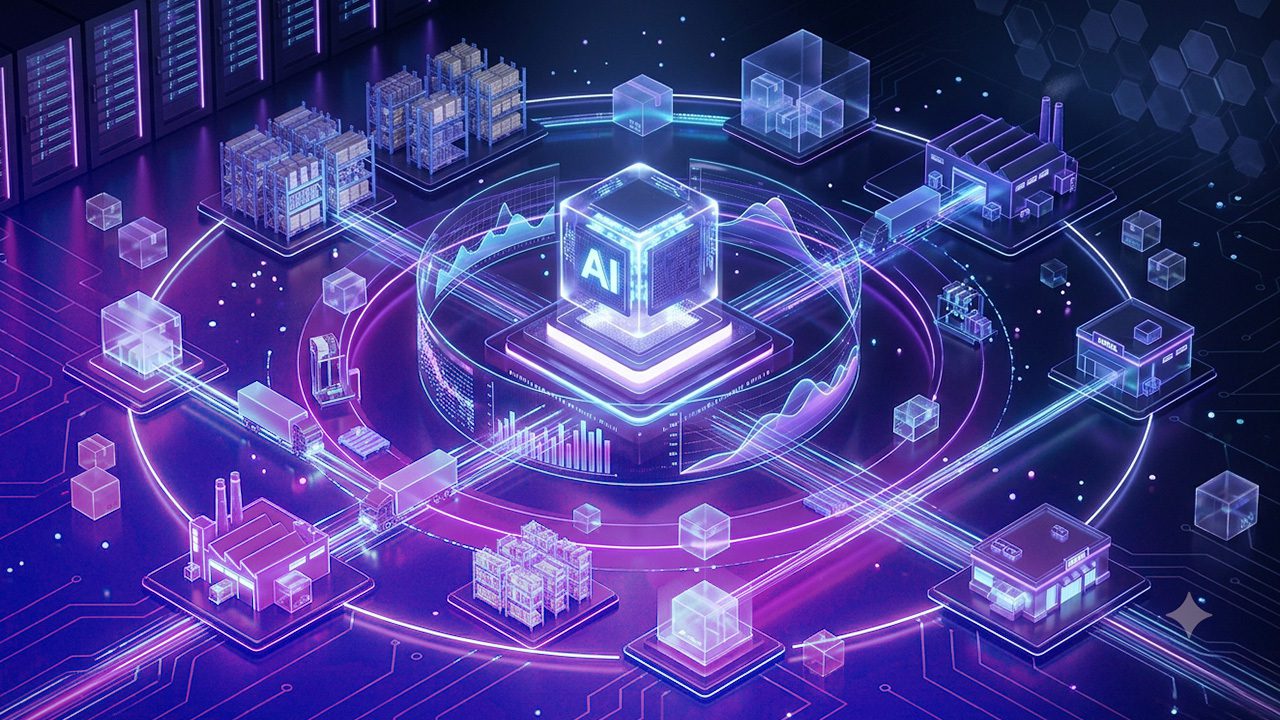
eCommerce now accounts for most of the manufacturing and distribution B2B sales, making it the fastest-growing revenue channel for wholesale distributors. Yet most distributor platforms are still processing orders manually, showing wrong pricing to buyers, and running on ERP data that syncs overnight rather than in real time. It is the online buying and selling […]
eCommerce now accounts for most of the manufacturing and distribution B2B sales, making it the fastest-growing revenue channel for wholesale distributors. Yet

Traditional ecommerce relies on a monolithic architecture that tightly connects the frontend and backend. Headless commerce separates them while connecting them through
Five to seven years. That is how long the average industrial distributor’s new storefront lasts before the same story repeats. Pages slow
A checkout flow that breaks during peak traffic. A product filter that returns wrong results after a catalog update. A payment gateway
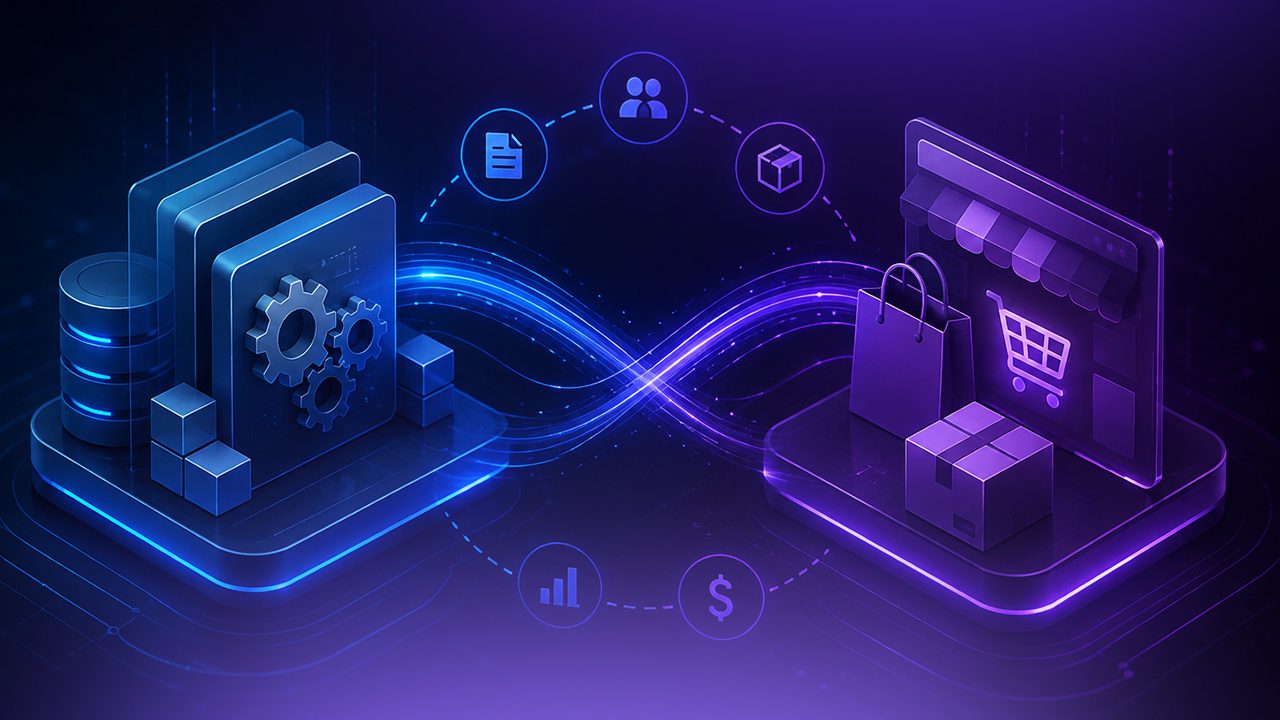
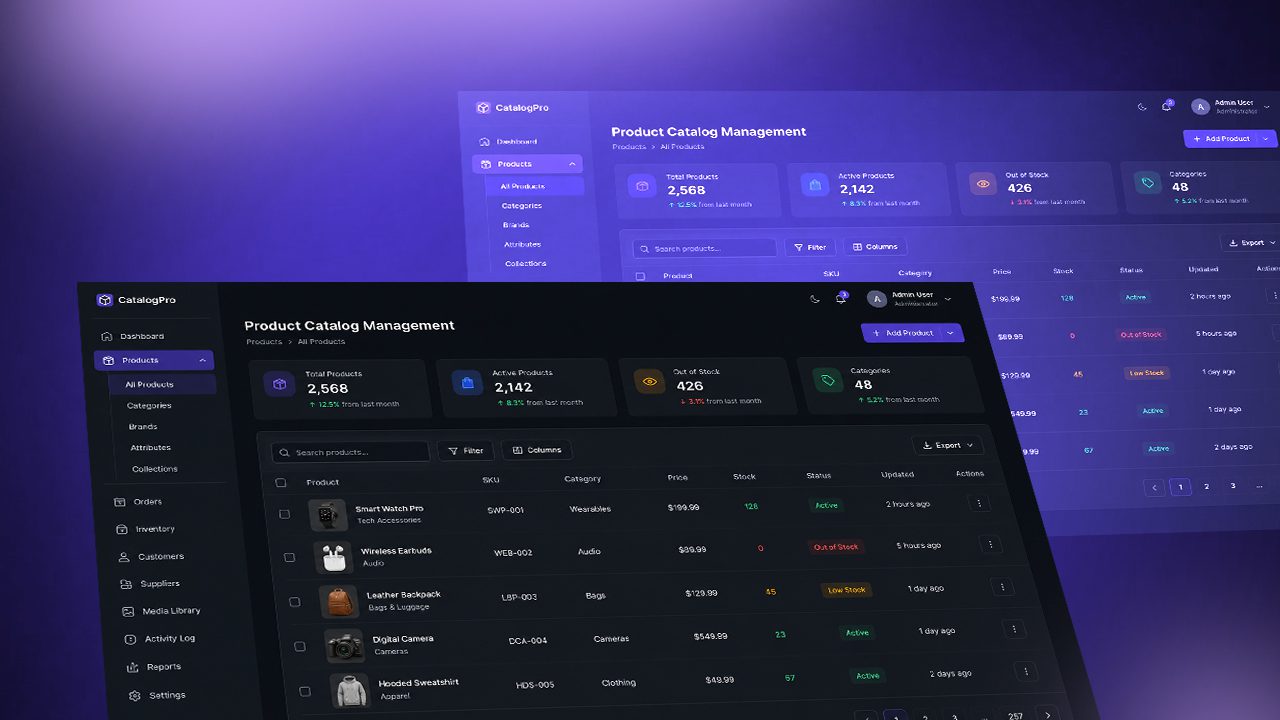
Modern B2B commerce relies on accurate product data, real-time inventory, and seamless order processing. For businesses using Adobe Commerce and Epicor Prophet

Agentic commerce is a buying model where AI agents, not humans, research products, compare options, and complete the purchase on a customer’s

For wholesale distributors, running a storefront and an ERP as two separate systems has a predictable endpoint. Orders get re-keyed by hand.

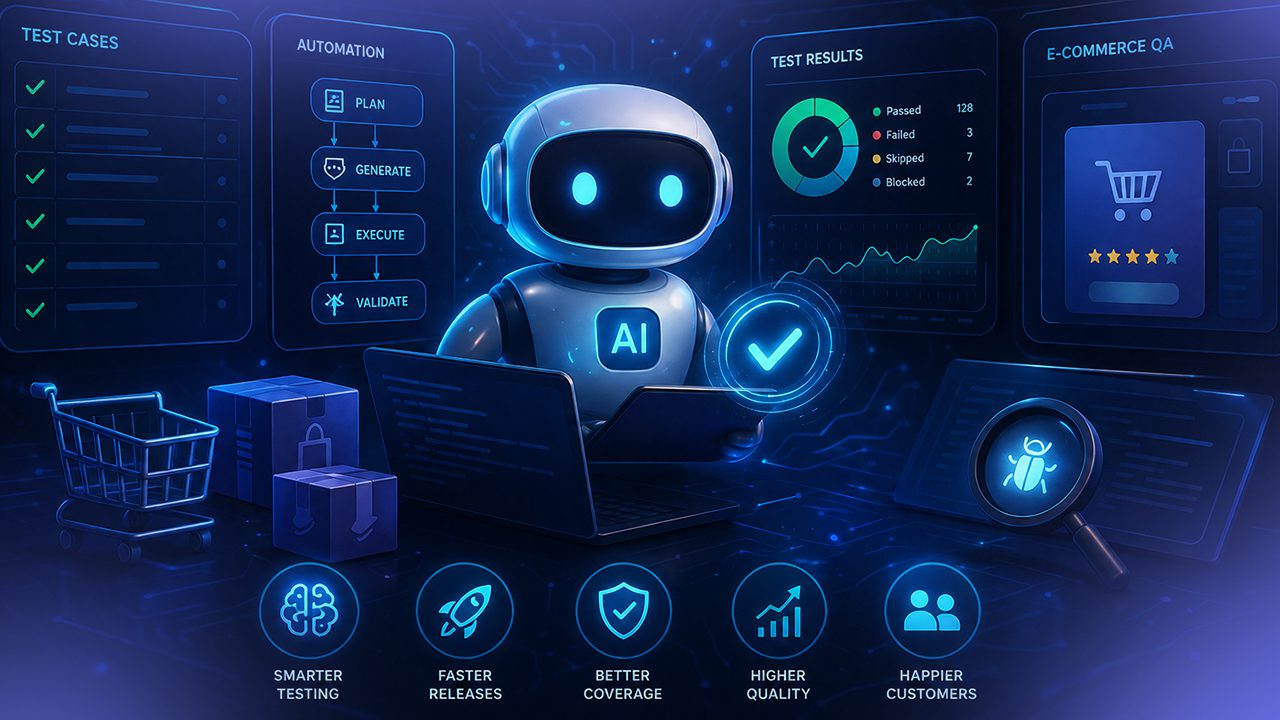
Software testing has always evolved alongside software development practices. From manual testing to scripted automation, and from waterfall to Agile and DevOps,
Managing inventory across thousands of SKUs and multiple warehouse locations is one of the most operationally demanding challenges distributors face. A single

Most product data does not live in one place, and that is the root of the problem. It tends to be spread
Learn the most common ERP eCommerce integration mistakes B2B companies make and how connected systems improve inventory, orders, pricing, and operations.

Learn how conversational AI agents work, their benefits, types, and use cases, plus why integration decides whether they resolve or just talk. Read Now!
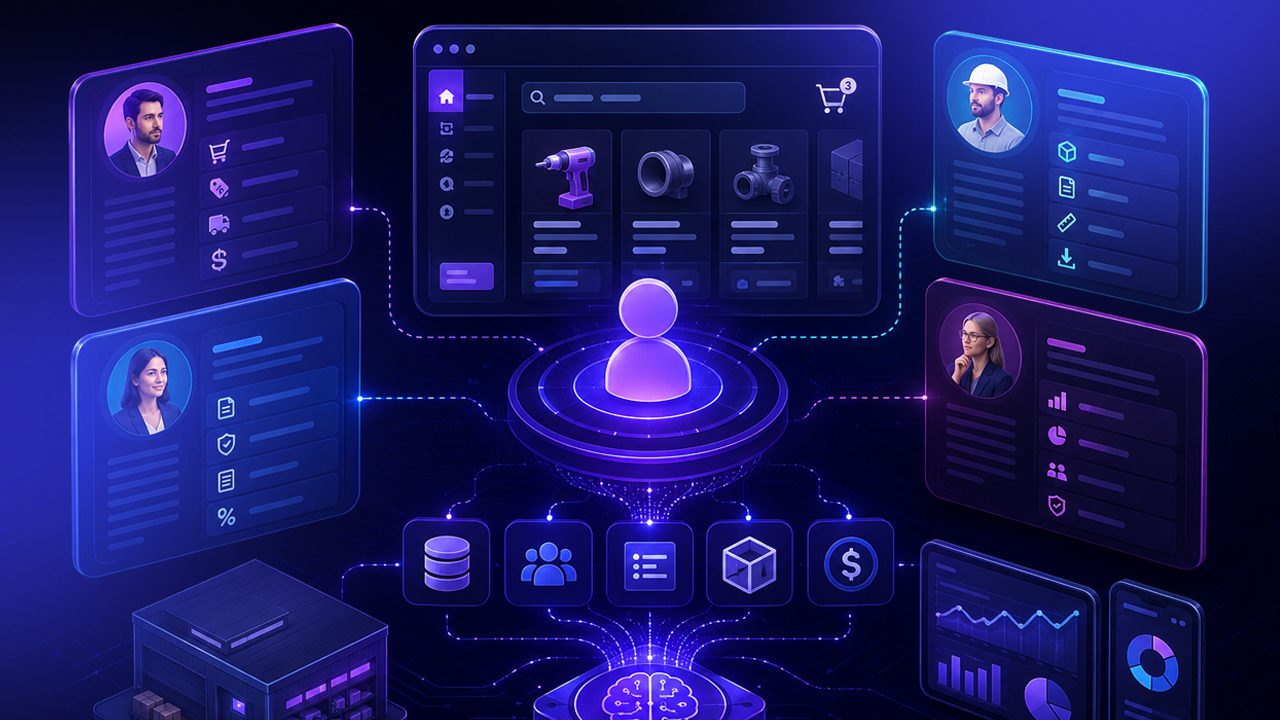
B2B buyers today expect the same relevance they get as consumers: account-specific pricing, role-based catalogs, and content that reflects their actual procurement
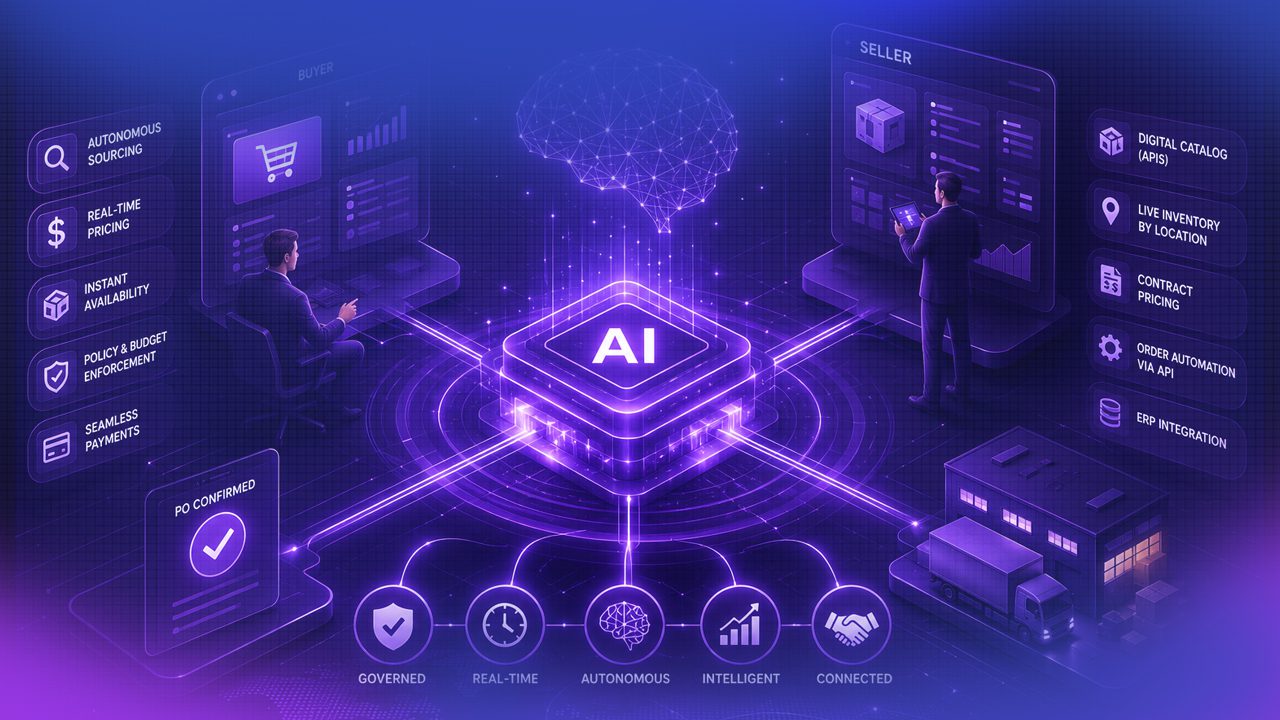
AI agents are placing B2B orders now. Learn what agentic commerce means for manufacturers and distributors in 2026, and how to prepare. Read Now!
Every online store depends on product data. From product names and descriptions to prices, images, and inventory levels, accurate information helps customers

Launching a Shopify store is not just about building features. Every theme update, custom app integration, and code deployment can impact performance,
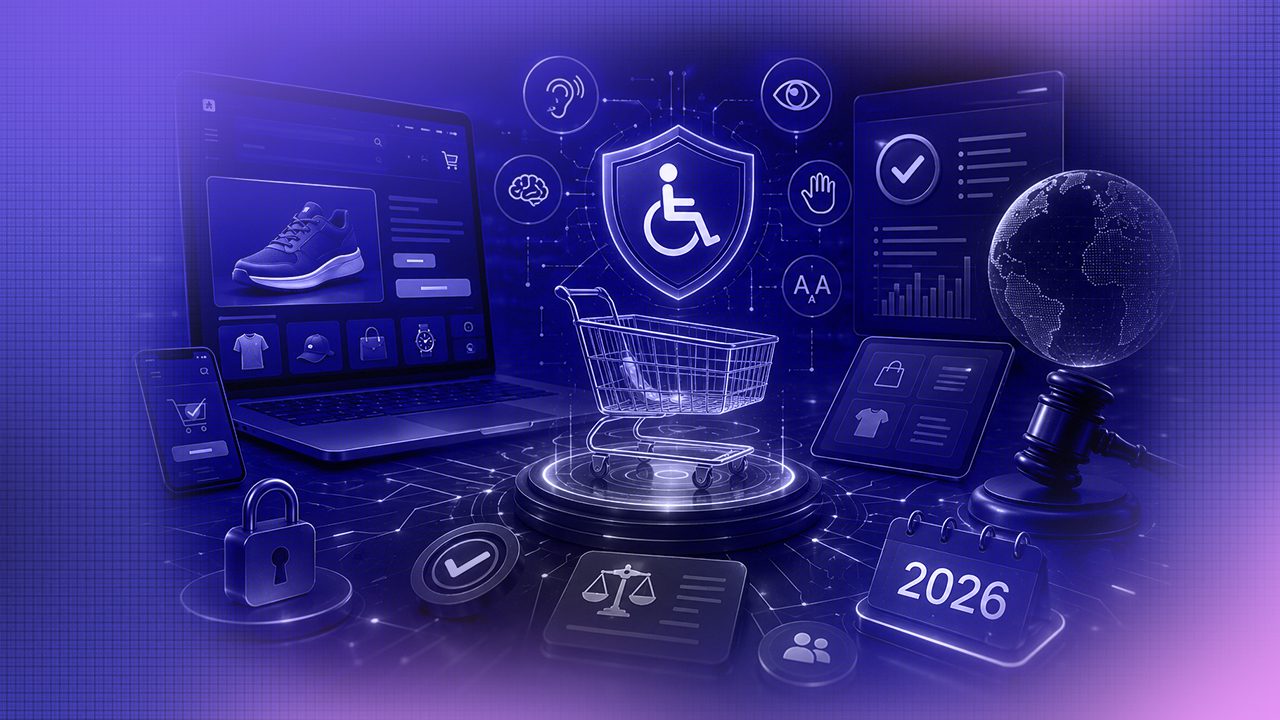
A blind shopper opens your store with a screen reader. The menu reads as “link link link,” the product images are silent,

It’s no secret that traditional monolithic platforms cannot meet the challenges of current digital commerce. They are less customizable, slower to innovate,
Is your Magento store actually connected to your ERP? Learn what real Magento ERP integration involves and how to get it right. Read Now!

BigCommerce hitting its limits? Learn when to migrate to Magento, what it costs, and how to move without losing traffic or revenue.