The cart is the most important part of any ecommerce store. In Magento 2, the cart helps customers review their selected items, update quantities, and estimate the total cost in advance of checkout. A properly configured cart simplifies shopping and enhances customer experience.
In this blog, explore how the Magento 2 Cart works, what settings you can manage from the admin panel of a store, and how these options help in keeping your store up and running.
ON THIS PAGE
Magento 2 Checkout Options and Settings
The checkout is one of the most important parts of an online store; it’s where customers review their orders and complete the purchase. Magento 2 checkout options give you the possibility to manage how this process should work: from enabling guest checkout to showing billing information and order summaries.
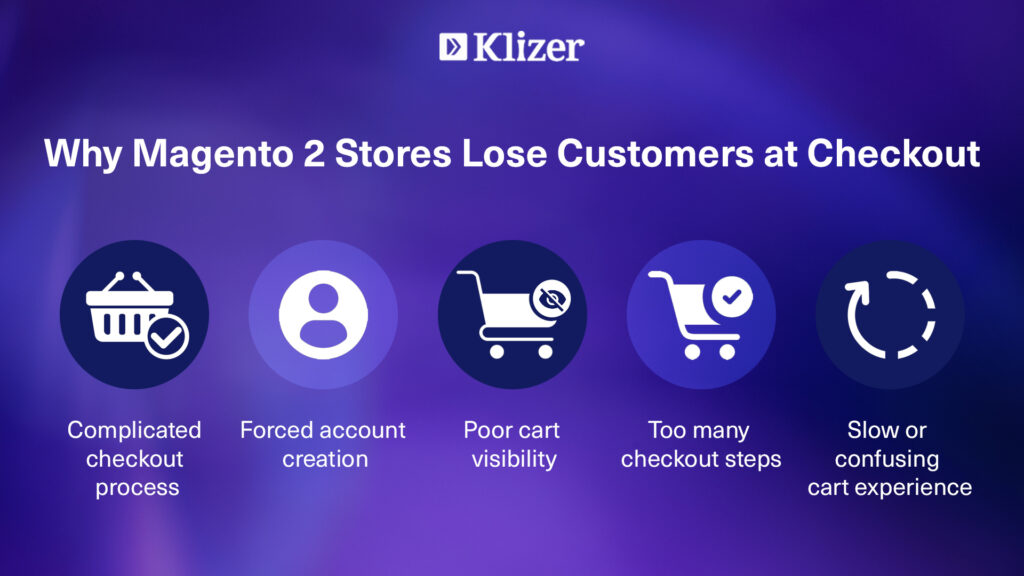
Proper usage of these options makes the checkout process quicker and smoother for customers. It also helps reduce cart abandonment and improves the overall buying experience.
On the Admin, go to Stores -> Settings -> Configuration -> expand Sales and choose Checkout.
Configuration Options:
- Enable Guest Checkout Log-in: Allows shoppers to check out without having to log in, thus making it easier for first-time customers.
- Enable One-Page Checkout: Allows placing an order on one page, making the process quicker.
- Allow Guest Checkout: purchases without creating an account, hence perfect for casual buyers.
- Display Billing Address On – Select when it should be displayed – pre or post-payment.
- Enable Terms and Conditions – A feature that adds a checkbox for customers to agree with store policies before ordering.
- Maximum Number of Items to Display in Order Summary – Sets how many products are shown in the checkout summary section.
Shopping Cart Configuration in Magento 2
The shopping cart is what customers go through to check out after product review. It’s meant to be the middle of an online store; thus, it should be clear and user-friendly.
Magento allows you to manage the general settings of the cart: its behavior, which information is displayed, the lifetime of stored data, and more. You can even manage how product images and cross-sell products appear. Proper configuration of a cart lets customers go smoothly through their purchase journey.
Configuration Options:
- Quote Lifetime (days) – Defines how long the cart is stored for inactive users before it expires.
- Add Product Redirect to Shopping Cart – Determines whether a customer will be taken to the cart page after adding an item.
- Number of Items to Display Pager – Sets the number of items appearing per page in case the cart has a lot of products.
- Show Cross-sell Items in the Shopping Cart – This option presents related or suggested products to increase sales.
- Grouped / Configurable Product Image – Determines which product image, parent or child, is shown in the cart.
- Enable Clear Shopping Cart – Enables customers to empty the cart in one click.
- Display Billing Address On – Select when it should be displayed
My Cart Link Settings Explained
The “My Cart” link usually appears in the website header and is very helpful for customers in tracking their cart content. It shows instantly how many items they have added or the total cost. This section customize what appears beside the cart icon-item quantity or subtotal. Having this feature makes it easier for shoppers to stay aware of their cart without opening it fully.
Configuration Options:
- Display item quantities – This setting displays the total number of products in the cart, adding the quantities for each product.
- Display number of items in cart – This setting displays the number of product items in the cart, regardless of quantity.
Mini Cart Configuration for Better User Experience
The Mini Cart is the small preview of the cart that appears when customers hover over or click the cart icon, enabling them to quickly view, update, or remove products without navigating to the full cart page.
Magento 2 has various settings that allow you to manage how many items the Mini Cart shows by default and from which point on the scrollbar should appear. That saves a lot of time for shoppers and provides a seamless experience, especially on mobile. A properly configured Mini Cart contributes to better conversion rates due to avoiding unnecessary steps during checkout.
Configuration Options:
- Display Mini Cart – Turns the Mini Cart feature on or off.
- Number of Items to Display Scrollbar – Controls when to show a scrollbar if too many items are added.
- Maximum Number of Items to Display – Limits the number of visible items inside the Mini Cart.
Conclusion
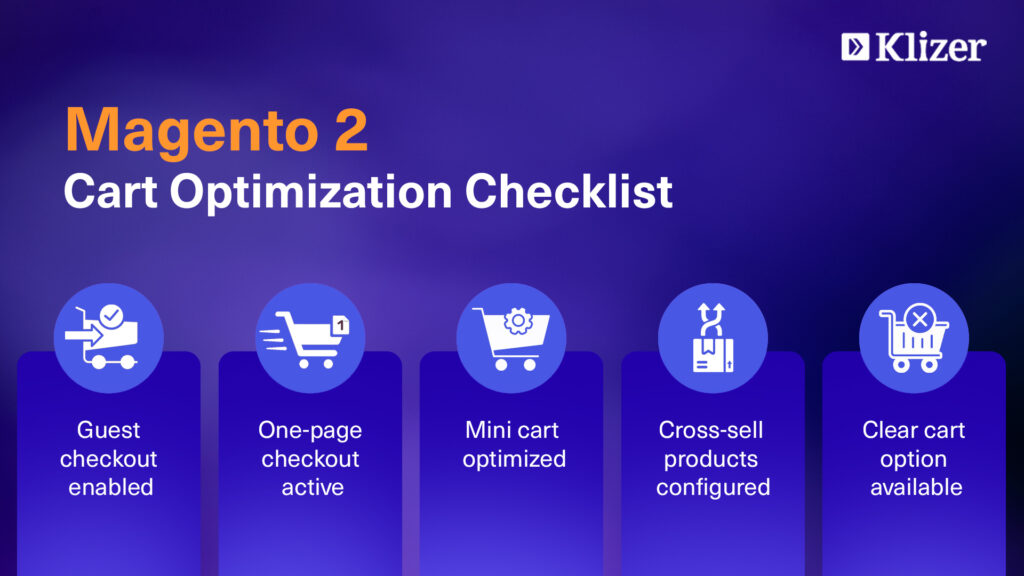
Setting up the Magento 2 shopping cart and checkout the right way can greatly improve how customers shop and how often they complete their purchases. Simple changes like allowing guest checkout, improving cart behavior, and optimizing the mini cart make the buying process faster and easier for users.
For advanced cart features, better performance, or custom store improvements, working with an experienced Magento development partner like Klizer can be a smart choice..
Our Magento experts help businesses create flexible, high-performing ecommerce stores that are designed to convert more visitors into customers.