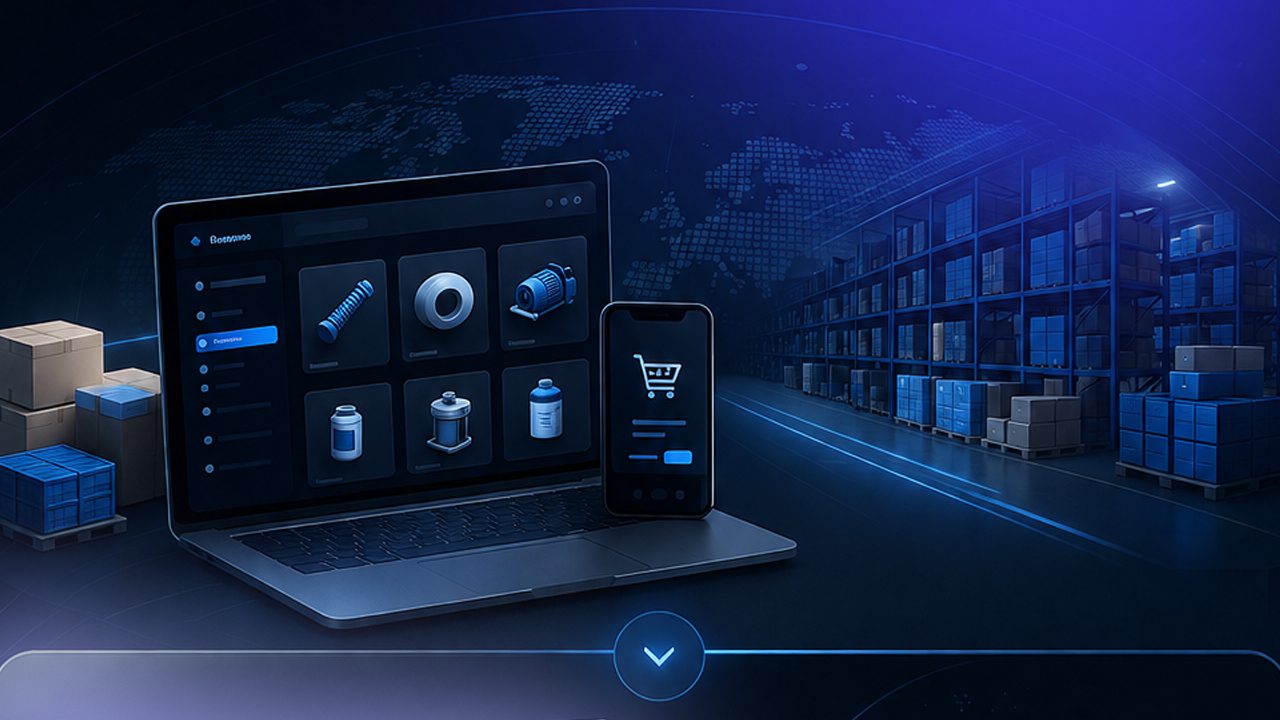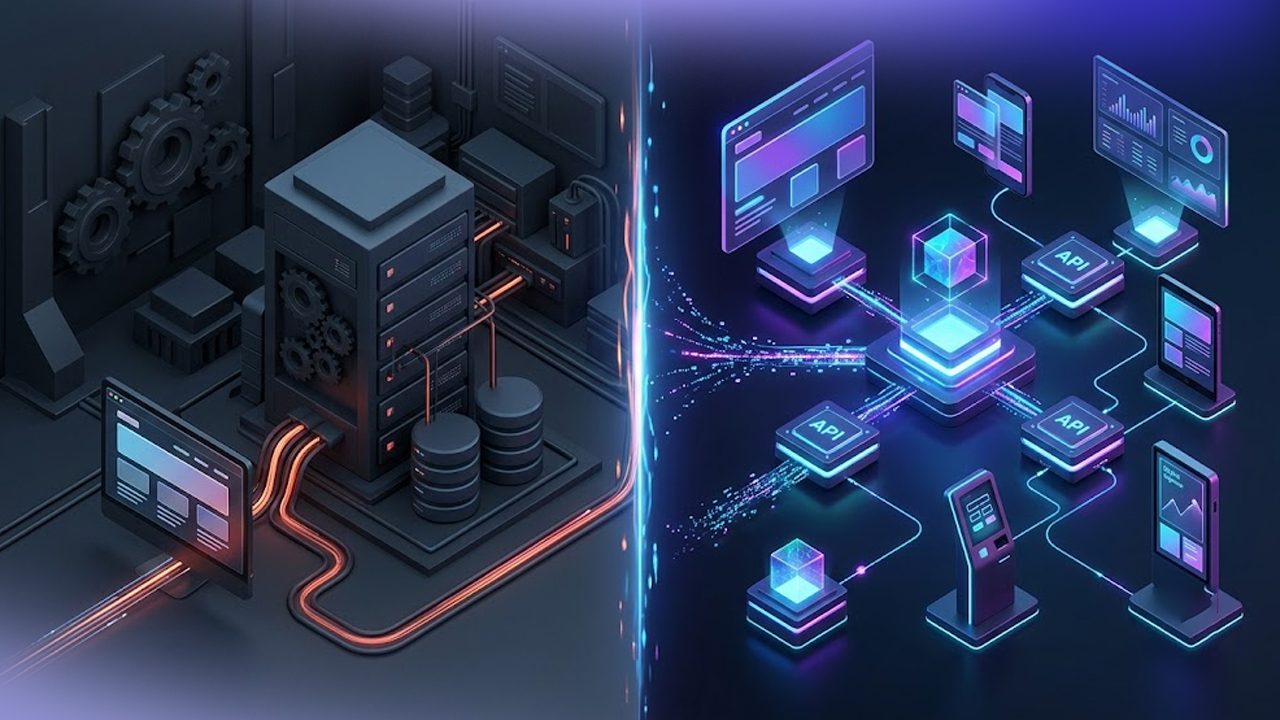

BigCommerce Catalyst is a composable approach to ecommerce. It is fully customizable UI kit, comprehensive GraphQL Storefront API client, all optimized for Next.js and React Server Components. Use it standalone or pre-integrated with our powerful visual editor, Makeswift. It allows developers to create lightning-fast, SEO-optimized storefronts while giving them full control over the user experience, and overall performance.
This guide will take you through the manual installation process using the Catalyst CLI to build a headless storefront linked to your BigCommerce store.
There are two main ways to get started with Catalyst:
1. Manually clone the Catalyst GitHub repository
2. Use the Catalyst CLI (This is the recommended option for a smoother setup and the latest features)
Prerequisites
Before starting, please make sure you have the following requirement ready:
– A BigCommerce store or a sandbox environment
– Node.js v20.x installed
– pnpm (with Corepack support)
– Git version 2.35.x or higher
– A Vercel account for deployment (recommended)
ON THIS PAGE
Manual Installation using Catalyst CLI
Step 1: Create a New Catalyst Project
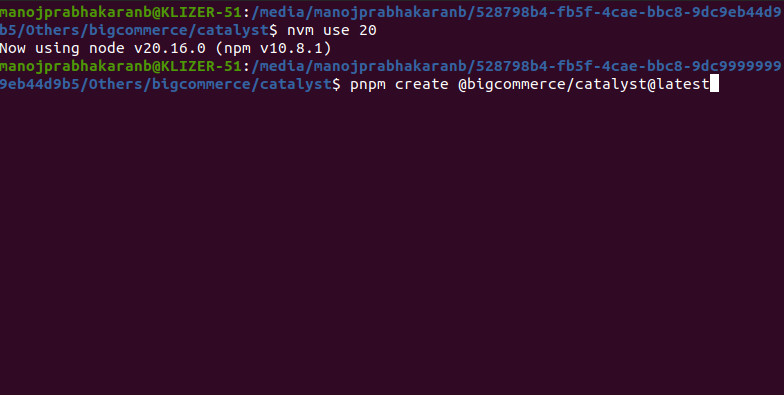
Open your terminal and run this command to kick off a new Catalyst project:
pnpm create @bigcommerce/catalyst@latest
This command will help you through the setup process.
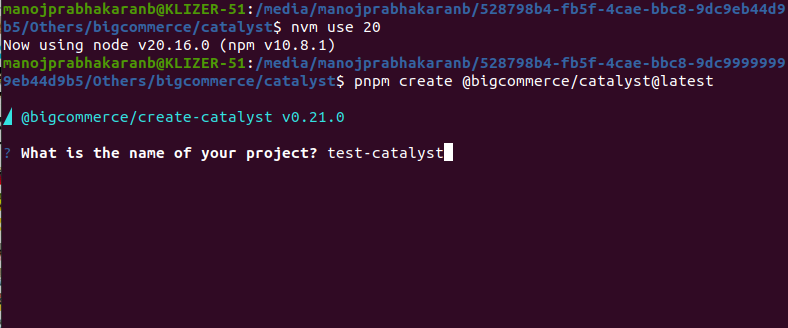
Step 2: Project Name
You will be prompted to enter a name of your project, which will also create as your project directory.
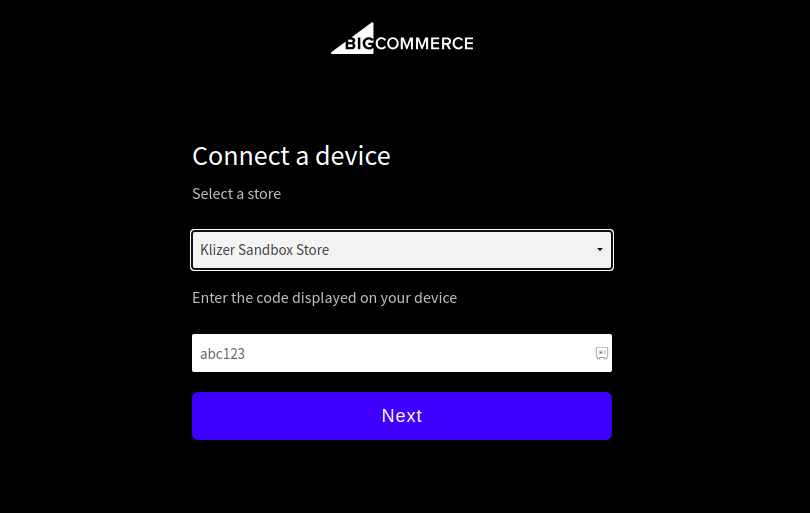
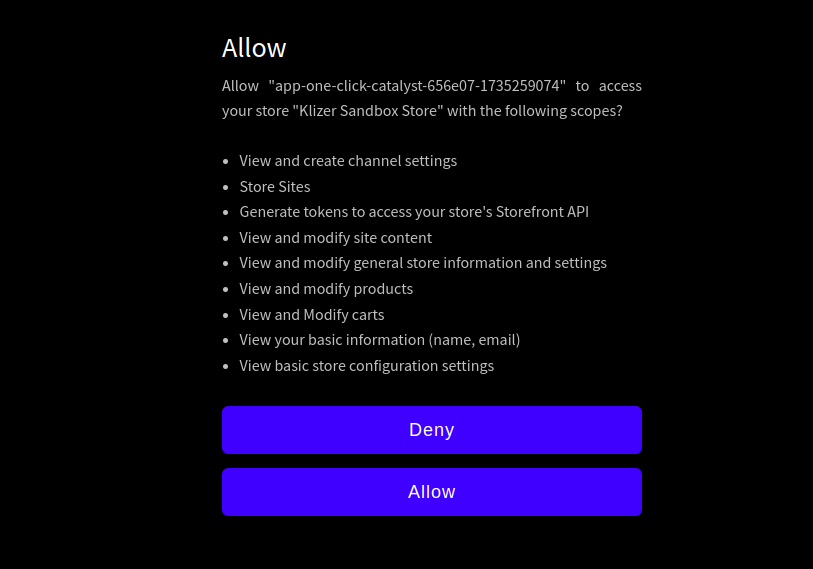
Step 3: Connect Your BigCommerce Store
– After initialization, a one-time code will be generated.
– Head over to: https://login.bigcommerce.com/device/connect
– Paste the code there and authorize access to your BigCommerce store.
Note: This step secures the connection between Catalyst and your store using BigCommerce APIs.

Step 4: Choose or Create a Channel
BigCommerce refers to storefronts as “channels.”
– Create New Channel → Select “Yes” to set up a new headless storefront channel.
– Choose Existing Channel → Select “No” and choose from the storefronts already linked to your store.


Step 5: Run Development Server
To see your storefront in action, start the local development server:

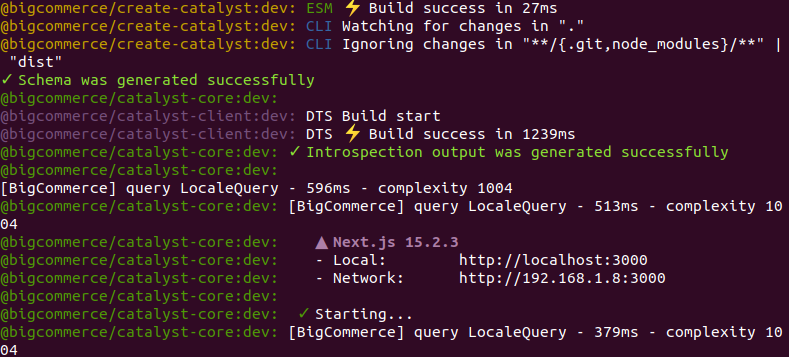
Your headless storefront will be accessible at http://localhost:3000/ by default in your local.
Step 6: Here’s how to deploy your store to Vercel after you’ve wrapped up development:
After completing the development, follow the deployment instructions provided in the below steps to publish your storefront using Vercel.
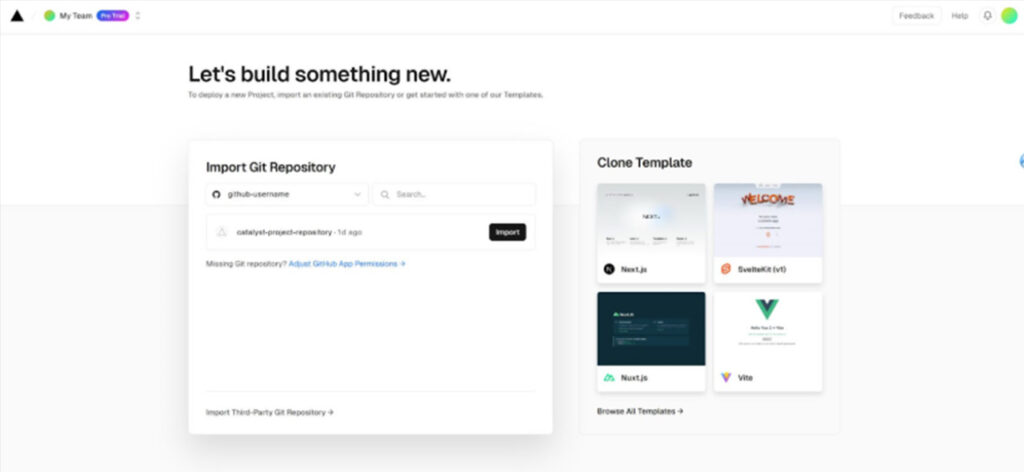
1. Push Code to Git RepoPush your local Catalyst project code to Git.
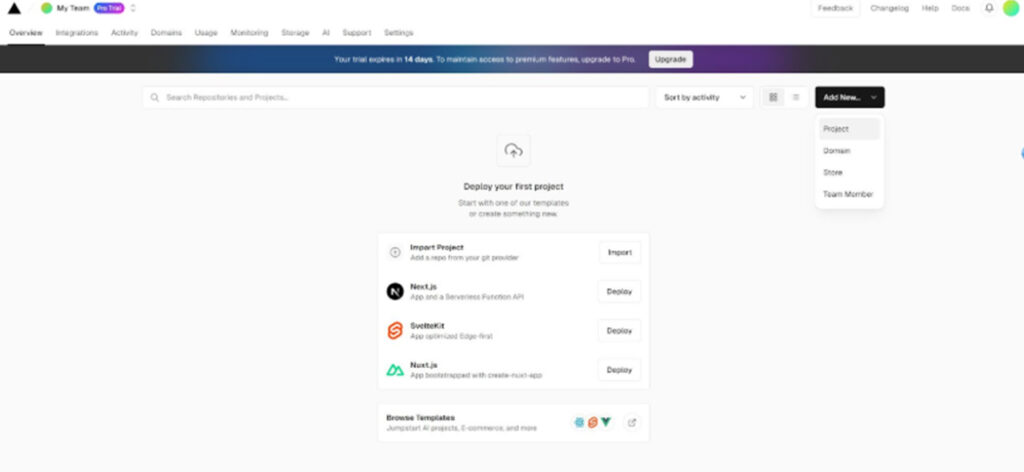
2. Connect the Repo to Vercel
– Navigate to the Vercel Dashboard
– Click on “Add New” and then select the “Project”
– Choose your connected repository
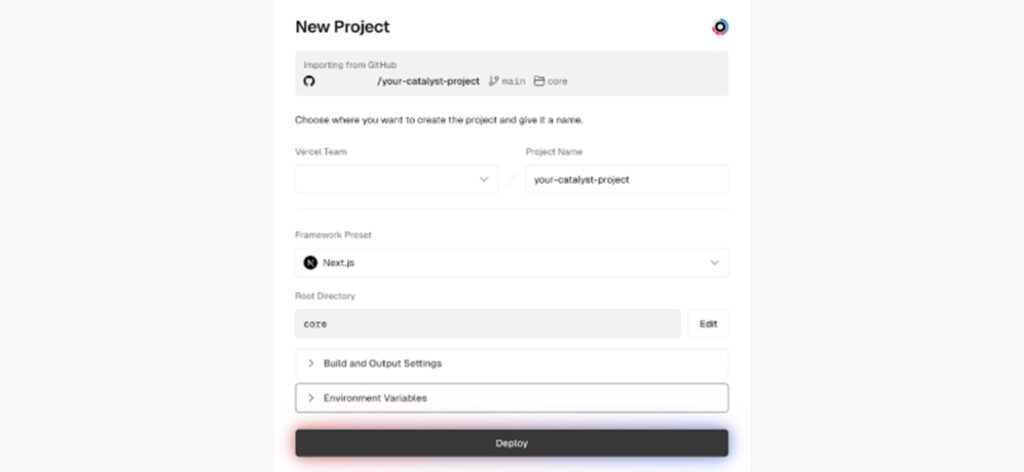
4. Environment Variables
Add Environment variables such as channel, Storehash and all other required variables.
Tip: Always keep your environment variables secure and avoid pushing them to Git repo.
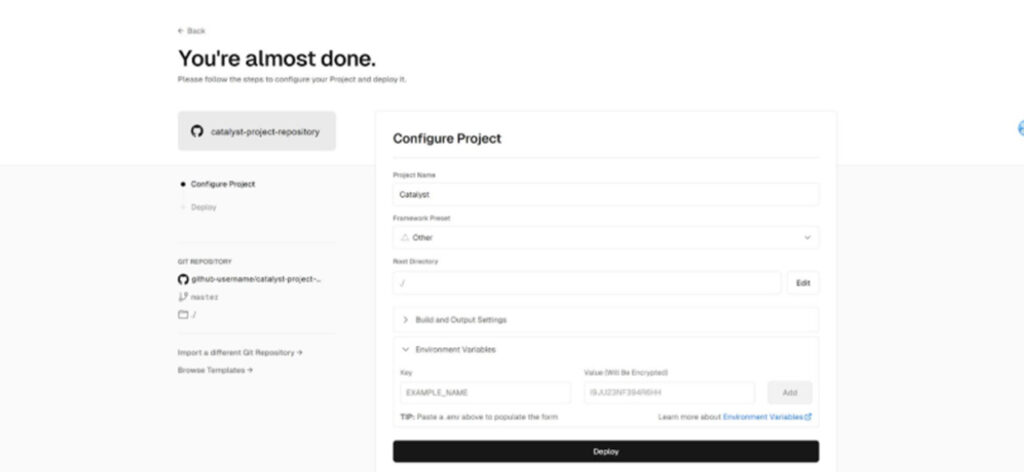
5. Deploy Your Storefront
The Vercel will handle the deployment once the clicked the deploy button. You can use and link your custom domain or use a Vercel default generated domain (such as your-project.vercel.app).
Read Next: Composable Commerce Examples: Features & FAQs
Conclusion:
With BigCommerce Catalyst, developers can build modern, lightning-fast, and SEO-optimized headless storefronts with complete control over the frontend experience. Using the Catalyst CLI, you can quickly connect your BigCommerce store, customize your UI, and deploy seamlessly to Vercel.
Partner with a trusted enterprise ecommerce development partner like Klizer for advanced BigCommerce development solutions tailored to your business.