

Integrating Magento 2 with external systems like mobile apps, CRMs, or third-party services can be complex without a standardized communication method. This is where the Magento 2 (Adobe Commerce) REST API proves essential.
The REST API is a web service framework that allows developers to interact with Magento stores using standard HTTP methods (GET, POST, PUT, DELETE). It enables secure and efficient data exchange between Magento and other platforms—perfect for custom integrations, mobile apps, and headless commerce.
In this guide, you’ll learn how to set up and use the Magento 2 REST API to streamline your ecommerce development.
ON THIS PAGE
Prerequisites:
Before you get started, ensure you have the following steps:
- A Magento 2 installation
- Basic knowledge of RESTful APIs
- Postman or any API testing tool
- Access to the Magento admin panel
5 Steps to Use Magento 2 REST API
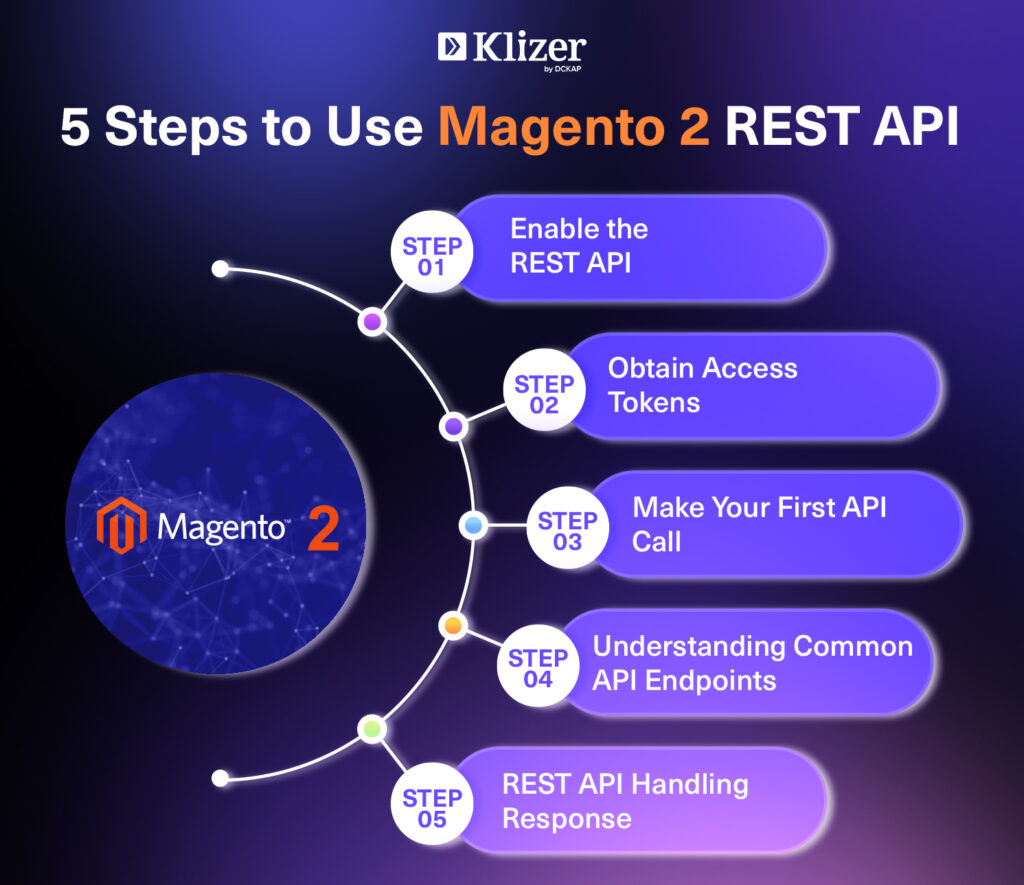
Step 1: Enable the REST API
Magento 2 REST API is enabled by default. However, you need to create an integration to obtain the necessary credentials.
- Log in to your Magento admin panel.
- Navigate to System > Extensions > Integrations.
- Click on Add New Integration.
- Fill in the required fields like name, email and current user password.
- Under the API section, select the API permission based on your needs.
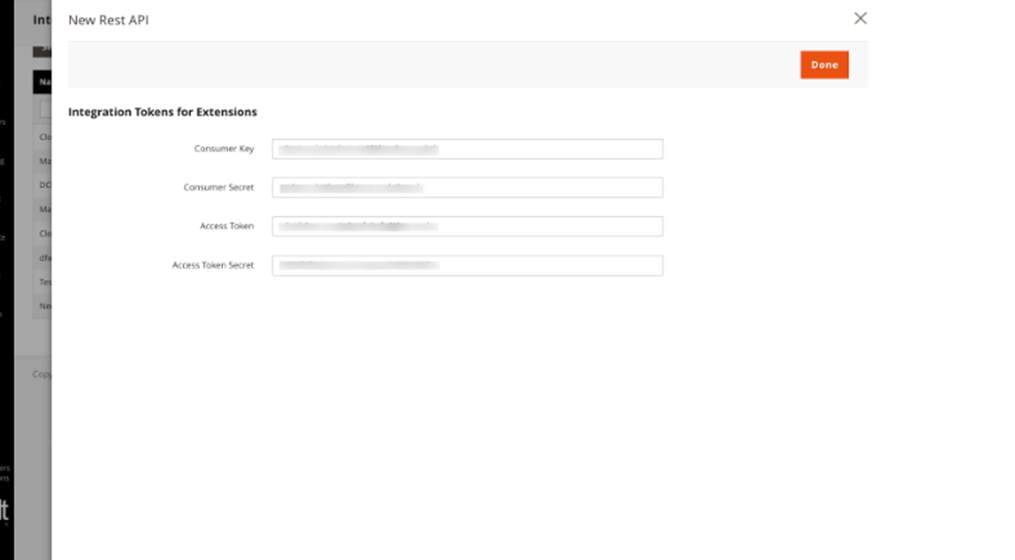
- Save the integration, then click on Activate to generate the access tokens(Consumer keys, Consumer secret, Access token, Access token secret).
Reference Image:
Step 2: Obtain Access Tokens
Once the integration is activated, you will receive the following tokens:
1. Access Token: This is used to authenticate your API requests.
2. Consumer Key and Consumer Secret: These are used for OAuth authentication.
Make sure to keep these tokens secure.
Step 3: Make Your First API Call
You can use tools like Postman to test API calls. Follow these steps to make your first request:
Open Postman and create a new request.
- Set the request type (GET, POST, PUT, DELETE) based on the operation you want to perform.
- Enter the API endpoint URL.
- Set BaseURL : https://your-domain.com/rest/V1/
- For example, to get a list of products, use: https://your-domain.com/rest/V1/products
- In the Authorization tab, select Bearer Token and enter your access token.
- Click Send to execute the request.
Step 4: Understanding Common API Endpoints:
- Products: Retrieve, create, update, and delete products.
- Customers: Manage customer data.
- Orders: Access order information.
Detailed Example :
Here are some common REST API endpoints you might find useful:
- Get Products: Method GET : URL: https://your-domain.com/rest/V1/products
- Get a Single Product: GET URL: https://your-domain.com/rest/V1/products/{sku}
- Create a New Product: POST URL: https://your-domain.com/rest/V1/products
- Update a Product: PUT : URL: https://your-domain.com/rest/V1/products/{sku}
- Delete a Product: DELETE URL: https://your-domain.com/rest/V1/products/{sku}
Step 5: REST API Handling Response
Magento returns responses in JSON format. Ensure your application can parse JSON to handle API data effectively. Common response codes include:
- 200 OK: Request was successful.
- 201 Created: Resource created successfully.
- 400 Bad Request: Invalid input or request.
- 401 Unauthorized: Authentication failed(Need to check Access Token).
- 404 Not Found: Resource not found(Need to check URL).
Please visit the developer documentation to get know more about Magento (Adobe Commerce) Here.
Read Next: Create Custom API In Magento 2: A Step-by-Step Guide
Conclusion
The Magento 2 REST API is a valuable resource for developers enhancing ecommerce applications. Follow the steps in this blog to integrate and interact with your Magento store programmatically.
Need expert help from ecommerce development partners? Klizer offers custom Adobe solutions and seamless integration support to help your business scale faster and smarter.